Easy Homemade Soft Pretzels – Chewy & Delicious
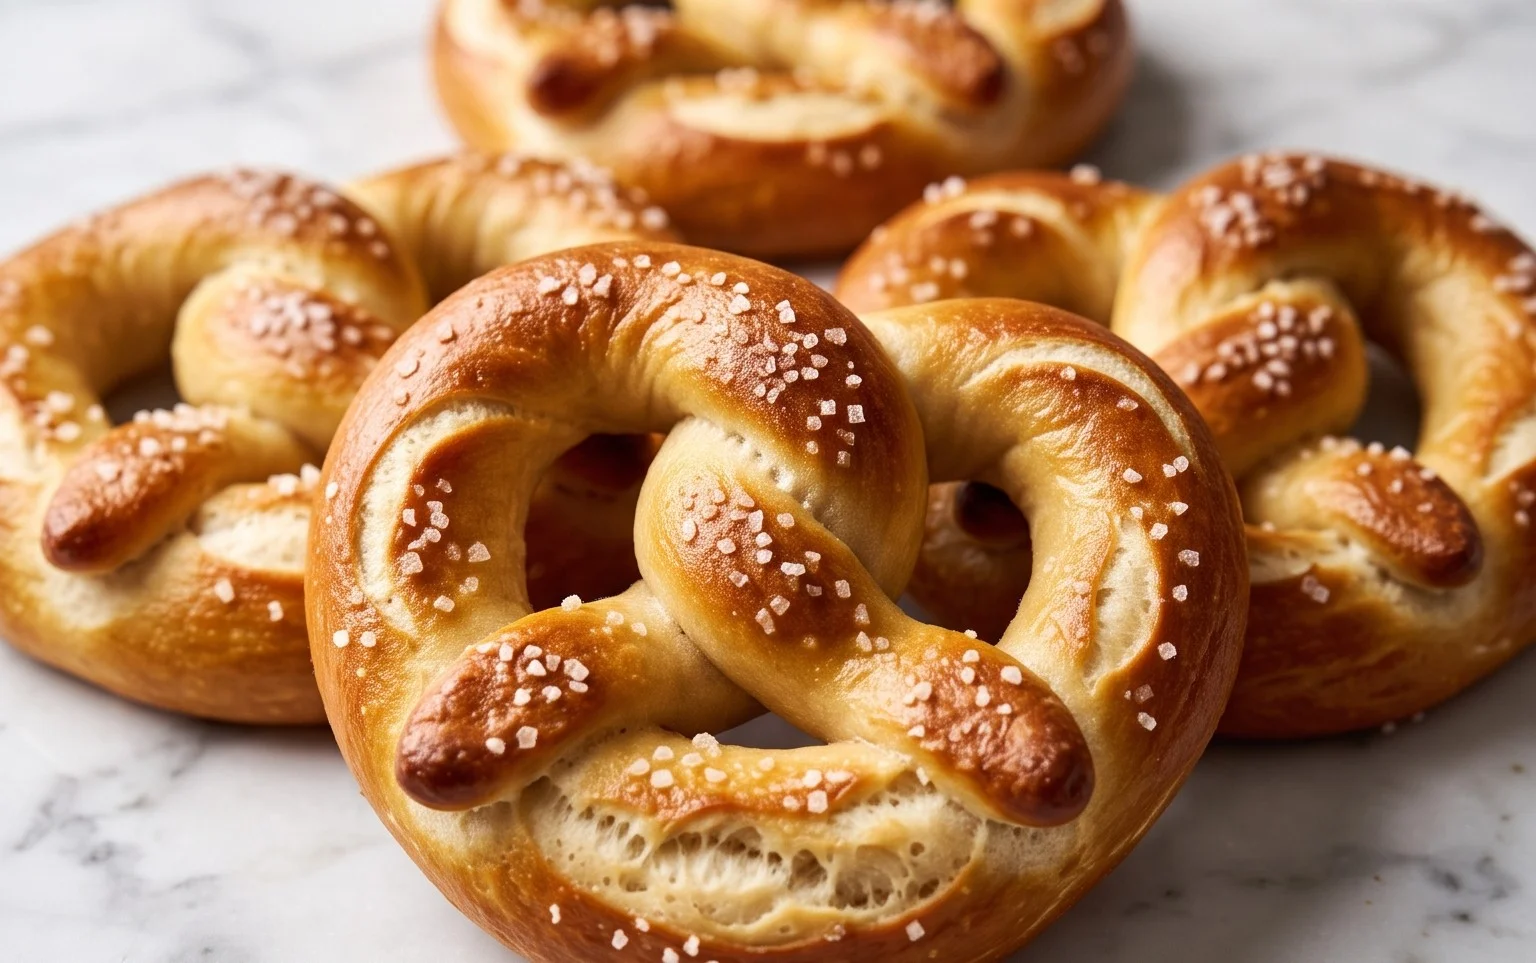
Homemade soft pretzels are a culinary dream, aren’t they? That perfectly chewy interior, the slightly crisp, golden-brown exterior, and that unmistakable salty finish – it’s a flavor and texture combination that just screams comfort and joy. There’s something incredibly satisfying about biting into a warm, pillowy pretzel, whether you’re enjoying it at a ball game, a brewery, or right in your own kitchen. What truly makes homemade soft pretzels special is the sheer magic of transforming simple pantry staples into something so wonderfully delicious. It’s a process that feels both achievable and deeply rewarding, allowing you to customize them to your exact liking. Forget those frozen imposters; creating your own homemade soft pretzels brings an unparalleled sense of accomplishment and, of course, an irresistible aroma that will fill your home with pure happiness.
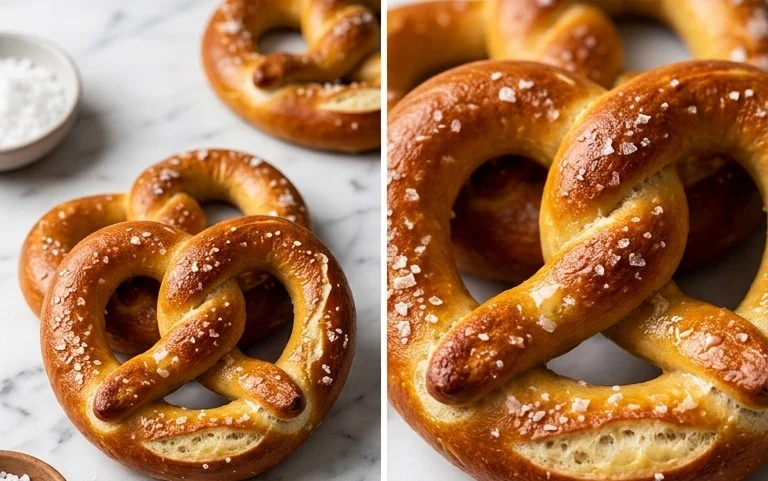
Homemade Soft Pretzels
There’s something incredibly satisfying about biting into a warm, chewy pretzel, especially when you’ve made it yourself. Forget those stale supermarket versions or overpriced bakery treats; crafting your own soft pretzels at home is surprisingly straightforward and yields a delightfully golden, perfectly salted snack. The aroma that fills your kitchen as these bake is simply divine, and the taste is unparalleled. This recipe focuses on creating that classic soft pretzel texture with a hint of sweetness, a satisfying chew, and that irresistible salty crunch. We’ll walk through each step, ensuring you achieve pretzel perfection every time.
Ingredients:
- 1 1/2 cups Lukewarm Water
- 2 1/4 tsp Instant Quick Rise Yeast (1 packet)
- 1 tsp Salt
- 1 tbsp Granulated Sugar
- 4 cups Bread Flour
- 8 cups Water (for the baking soda bath)
- 4 tbsp Baking Soda
- 1 Large Egg Yolk
- 1 tbsp Water (for egg wash)
- 2 tbsp Pretzel Salt (or coarse sea salt)
Making the Dough
The foundation of any great pretzel is a well-made dough. This is where the magic begins.
- In a large mixing bowl, combine the 1 1/2 cups of lukewarm water, instant quick rise yeast, 1 teaspoon of salt, and 1 tablespoon of granulated sugar. Give it a gentle stir. Let this mixture sit for about 5 to 10 minutes. You should see the yeast become foamy and bubbly on the surface. This “blooming” indicates that your yeast is alive and active, ready to work its leavening magic. If it doesn’t foam, your yeast might be old, or the water temperature was off, and you’ll want to start again.
- Gradually add the 4 cups of bread flour to the wet ingredients. Mix with a wooden spoon or a sturdy spatula until a shaggy dough forms. Once it becomes too difficult to stir, turn the dough out onto a lightly floured surface. Knead the dough for about 8-10 minutes. This is where you develop the gluten, which gives the pretzels their characteristic chewy texture. Push the dough away from you with the heel of your hand, then fold it back towards you. Rotate and repeat. The dough should become smooth, elastic, and no longer sticky. If it’s too sticky, add a tiny bit more flour, a tablespoon at a time. If it’s too dry, add a teaspoon of water.
- Lightly grease a clean bowl with a little oil or cooking spray. Place the kneaded dough into the bowl, turning it to coat all sides. Cover the bowl tightly with plastic wrap or a damp kitchen towel. Let the dough rise in a warm place for about 1 to 1.5 hours, or until it has doubled in size. A slightly warmer spot, like a slightly preheated oven that’s been turned off, can speed this process up. Patience here is key for a good rise.
Shaping the Pretzels
Once your dough has risen, it’s time to bring those iconic pretzel shapes to life.
- Gently punch down the risen dough to release the air. Turn it out onto a lightly floured surface and divide it into 8 equal portions. Roll each portion into a rope about 20-24 inches long and about 1/2 inch thick. For a classic pretzel shape, take one rope and form it into a U-shape. Twist the ends around each other twice, then bring the twisted ends down to meet the bottom curve of the U. This creates the distinctive pretzel knot. Don’t worry if your first few aren’t perfectly shaped; they’ll still taste amazing!
The Baking Soda Bath and Baking
This is the crucial step that gives pretzels their signature color and slightly chewy crust.
- While you’re shaping your pretzels, preheat your oven to 400°F (200°C). Also, prepare your baking soda bath: in a large, shallow pot or baking dish, combine the 8 cups of water and the 4 tablespoons of baking soda. Bring this mixture to a gentle boil. Carefully, using a slotted spatula or a large slotted spoon, dip each shaped pretzel into the boiling baking soda solution for about 20-30 seconds per side. This brief bath causes a chemical reaction that helps caramelize the dough, giving the pretzels their beautiful golden-brown color and unique flavor. Don’t overcrowd the pot; you may need to do this in batches.
- After dipping, place the pretzels onto a parchment-lined baking sheet. In a small bowl, whisk together the egg yolk and 1 tablespoon of water to create an egg wash. Brush the tops of each pretzel with this egg wash. This helps the pretzel salt adhere and contributes to a lovely sheen. Finally, sprinkle generously with the 2 tablespoons of pretzel salt. Work quickly once they’re out of the bath, as the egg wash will start to set.
- Bake the pretzels in the preheated oven for 12 to 15 minutes, or until they are deep golden brown and firm to the touch. Keep an eye on them, as oven temperatures can vary. Once they’re out of the oven, let them cool on the baking sheet for a few minutes before transferring them to a wire rack.
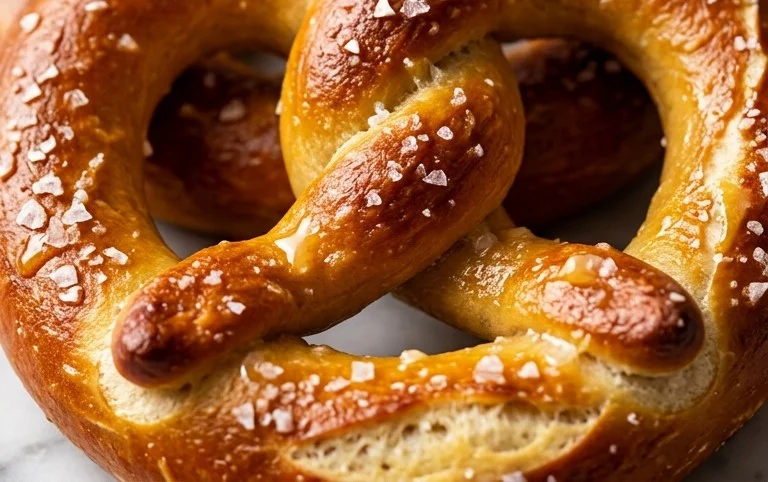
Enjoy your warm, homemade soft pretzels! They are best served fresh, perhaps with some mustard for dipping. The process, from kneading the dough to the final golden bake, is incredibly rewarding, and the result is a snack that will have everyone asking for seconds.
Conclusion:
There you have it – your guide to crafting the most wonderfully soft and chewy homemade soft pretzels right in your own kitchen! This recipe is truly a delight because it breaks down what might seem like a daunting task into simple, achievable steps, resulting in a snack that’s far superior to anything store-bought. The satisfaction of pulling these golden-brown beauties from the oven is immense, and the aroma alone is worth the effort. Whether you’re a seasoned baker or a beginner looking for a fun kitchen project, I encourage you to give this a try. They are perfect for movie nights, game days, or just a delicious afternoon treat.
Serve your freshly baked pretzels warm, sprinkled with coarse salt, or get creative! They are fantastic dipped in mustard (dijon, honey mustard, or spicy brown), cheese sauce, or even a sweet caramel sauce. For a sweet twist, consider omitting the salt and dipping them in cinnamon sugar after baking, or even drizzling with melted chocolate.
Frequently Asked Questions:
Can I make the pretzel dough ahead of time?
Absolutely! You can prepare the dough, let it rise, and then refrigerate it overnight. Just bring it to room temperature for about 30 minutes before shaping and baking. This makes it even easier to have fresh pretzels ready when you want them!
My pretzels didn’t get that classic dark brown color. What did I do wrong?
The crucial step for that signature color and flavor is the baking soda bath. Ensure your baking soda solution is fresh and that you allow the pretzels to soak for the recommended time. Also, oven temperatures can vary, so make sure yours is accurately calibrated and preheated. Don’t be discouraged if it takes a couple of tries to get it perfect!
What are some other topping ideas besides salt?
Beyond the classic coarse salt, you can sprinkle your pretzels with everything bagel seasoning, poppy seeds, sesame seeds, or even a touch of garlic powder and parmesan cheese before baking for a savory variation. For sweet options, consider a cinnamon-sugar topping or a drizzle of melted chocolate and sprinkles after they’ve cooled slightly.
Homemade Soft Pretzels
Learn to make classic, soft, and chewy homemade pretzels with a perfectly browned crust and that signature pretzel taste. Perfect for snacks, appetizers, or parties.
Ingredients
-
1 1/2 cups Lukewarm Water
-
2 1/4 tsp Instant Quick Rise Yeast (1 packet)
-
1 tsp Salt
-
1 tbsp Granulated Sugar
-
4 cups Bread Flour
-
8 cups Water
-
4 tbsp Baking Soda
-
1 Large Egg Yolk
-
1 tbsp Water
-
2 tbsp Pretzel Salt
Instructions
-
Step 1
In a large bowl, combine the lukewarm water, instant yeast, salt, and sugar. Let it sit for about 5 minutes until foamy. -
Step 2
Gradually add the bread flour to the yeast mixture, mixing until a shaggy dough forms. Turn the dough out onto a lightly floured surface and knead for 8-10 minutes until smooth and elastic. -
Step 3
Place the dough in a lightly oiled bowl, cover, and let it rise in a warm place for about 1 hour, or until doubled in size. -
Step 4
Preheat your oven to 425°F (220°C). In a shallow bowl, whisk together the 8 cups of water and the baking soda. In a separate small bowl, whisk the egg yolk with 1 tbsp of water for the egg wash. -
Step 5
Punch down the risen dough and divide it into 8-10 equal pieces. Roll each piece into a rope about 20-24 inches long. Shape each rope into a pretzel by forming a U-shape, crossing the ends twice, and then bringing them down to the bottom of the U. -
Step 6
Dip each pretzel into the baking soda water solution for about 20-30 seconds, ensuring it’s fully submerged. Remove and let excess water drip off. -
Step 7
Place the wet pretzels on a parchment-lined baking sheet. Brush each pretzel with the egg wash and sprinkle generously with pretzel salt. -
Step 8
Bake for 12-15 minutes, or until golden brown and cooked through. Let cool slightly on a wire rack before serving.
Important Information
Nutrition Facts (Per Serving)
It is important to consider this information as approximate and not to use it as definitive health advice.
Allergy Information
Please check ingredients for potential allergens and consult a health professional if in doubt.