Easy Homemade Soft Pretzels – Chewy & Delicious
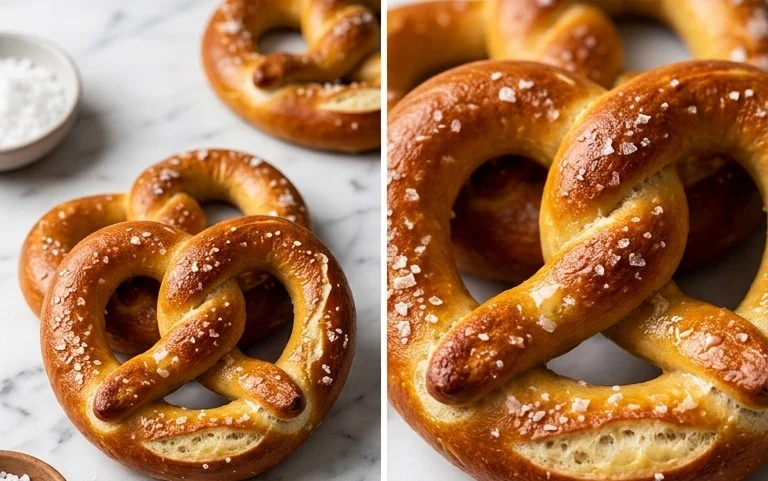
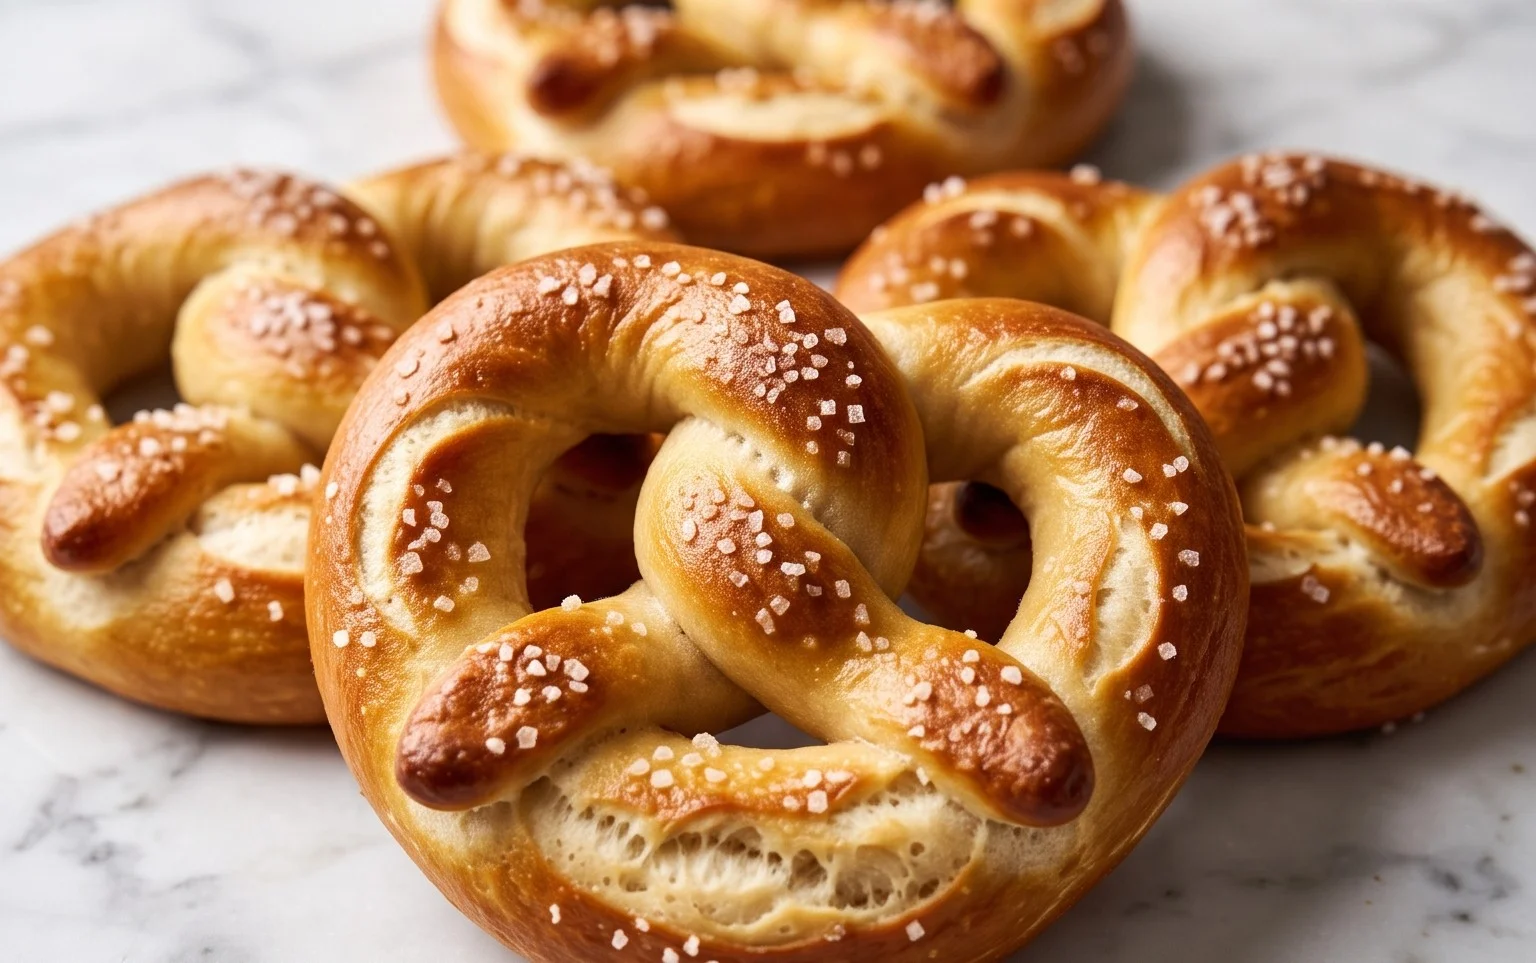
Easy Homemade Soft Pretzels Recipe: Forget the long queues and the slightly stale dough from the pretzel stand! Today, we’re diving headfirst into the world of warm, chewy, and utterly delicious soft pretzels, made right in your own kitchen. There’s a certain magic to a perfectly baked pretzel, isn’t there? That delightful tang from the baking soda bath, the satisfying chew, and that gorgeous golden-brown crust. People adore homemade soft pretzels because they offer a comforting, nostalgic treat that’s surprisingly accessible to create. What truly makes this easy homemade soft pretzels recipe so special is its simplicity. You’ll be amazed at how few ingredients and straightforward steps transform humble pantry staples into something so wonderfully satisfying. Get ready to impress yourself and your loved ones with these incredible, crowd-pleasing soft pretzels.
Easy Homemade Soft Pretzels Recipe
There’s something incredibly satisfying about biting into a warm, chewy pretzel, especially one you’ve made yourself. Forget those disappointing, rock-hard store-bought versions; this recipe will guide you to pretzel perfection right in your own kitchen. These soft pretzels are surprisingly easy to make and taste so much better when they’re fresh out of the oven. They’re perfect for snacking, serving at parties, or just as a treat on a cozy evening. Get ready to impress yourself and anyone lucky enough to share these with you!
Ingredients:
- 1 ½ cups warm water
- 1 Tablespoon sugar
- 2 teaspoons kosher salt
- 1 package active dry yeast (or 2 ¼ teaspoons)
- 4 ½ cups all-purpose flour
- ¼ cup melted butter
- 10 cups water
- 2/3 cups baking soda
- 1 large egg yolk with 1 tablespoon of water
- Pretzel Salt
- Non-stick cooking spray
- 2 tablespoons of butter
- 2 tablespoons of flour
- 1 cup milk
- 1 cup grated cheddar cheese
Making the Dough
The journey to delicious soft pretzels begins with a simple dough. In a large mixing bowl, combine your warm water (it should feel like bathwater, not too hot or too cold), sugar, and kosher salt. Sprinkle the active dry yeast over the top and give it a gentle stir. Let this mixture sit for about 5 to 10 minutes. You’ll know the yeast is alive and ready to work its magic when it becomes foamy and bubbly on the surface. This indicates that the yeast has been activated and will help our pretzels rise beautifully.
Once your yeast mixture is foamy, add the melted butter to the bowl. Gradually start adding the all-purpose flour, about a cup at a time, mixing well after each addition. You can use a wooden spoon or a stand mixer with a dough hook attachment. Continue adding flour until a shaggy dough forms. Once most of the flour is incorporated, turn the dough out onto a lightly floured surface. Knead the dough for about 8 to 10 minutes, or until it becomes smooth and elastic. If you’re using a stand mixer, this will take about 6-8 minutes on medium speed. The dough should be slightly sticky but manageable. Avoid adding too much extra flour, as this can make your pretzels tough.
After kneading, lightly grease a clean bowl with a little non-stick cooking spray or a touch of oil. Place the dough into the bowl, turning it to coat all sides. Cover the bowl tightly with plastic wrap or a clean kitchen towel. Let the dough rise in a warm place for about 1 to 1 ½ hours, or until it has doubled in size. A slightly warm oven (turned off, of course) is a great spot for this.
Shaping the Pretzels
Once your dough has impressively doubled, gently punch it down to release the air. Divide the dough into 8 equal portions. You can weigh them for consistency if you’re feeling particularly ambitious! Take one portion of dough and roll it into a rope about 20-24 inches long, tapering the ends slightly. To create that classic pretzel shape, bring the two ends to meet at the top, then twist them around each other twice. Finally, bring the twisted ends down to the bottom of the loop, pressing them firmly into the dough. Repeat this shaping process with the remaining dough portions. As you shape them, you can place them on parchment-lined baking sheets that have been lightly sprayed with non-stick cooking spray.
The Baking Soda Bath and Cheese Sauce
This is where the magic happens for that signature pretzel exterior! In a large, shallow pot or Dutch oven, combine 10 cups of water and the 2/3 cup of baking soda. Bring this mixture to a rolling boil over medium-high heat. Carefully lower one or two shaped pretzels at a time into the boiling baking soda solution. Let them boil for about 20 to 30 seconds per side. This brief bath is crucial for developing the chewy texture and glossy, browned crust that we all love in a good pretzel. Use a slotted spoon or spider strainer to remove the pretzels from the bath, allowing excess water to drip off, and place them back onto your prepared baking sheets.
While your pretzels are getting their bath, preheat your oven to 425 degrees Fahrenheit (220 degrees Celsius).
Now, let’s talk about a delicious addition: cheese! In a small saucepan, melt the 2 tablespoons of butter over medium heat. Whisk in the 2 tablespoons of flour to create a roux. Cook for about 1 minute, stirring constantly. Gradually whisk in the 1 cup of milk until the mixture is smooth and begins to thicken. Reduce the heat to low and stir in the 1 cup of grated cheddar cheese until it’s completely melted and smooth. Season with a pinch of salt and pepper if desired. This will be your luscious cheese sauce.
Baking and Serving
After their bath, brush the boiled pretzels with the egg wash mixture (1 large egg yolk mixed with 1 tablespoon of water). This will help give them a beautiful golden-brown sheen when baked. Sprinkle generously with pretzel salt. Now, it’s time to bake! Place the baking sheets into your preheated oven and bake for 12 to 15 minutes, or until the pretzels are golden brown and puffed. Keep an eye on them as oven temperatures can vary.
Once they’re out of the oven, it’s best to serve them immediately while they’re warm and soft. You can brush them with a little extra melted butter (melted in the microwave or a small saucepan) if you like, for an extra layer of flavor and shine. For those who love a good cheese dip, that homemade cheddar sauce you just made is the perfect accompaniment. Simply warm it up again if needed. These soft, chewy, and slightly salty pretzels, especially when paired with a warm, gooey cheese sauce, are an absolute delight. Enjoy your homemade pretzel masterpiece!
Conclusion:
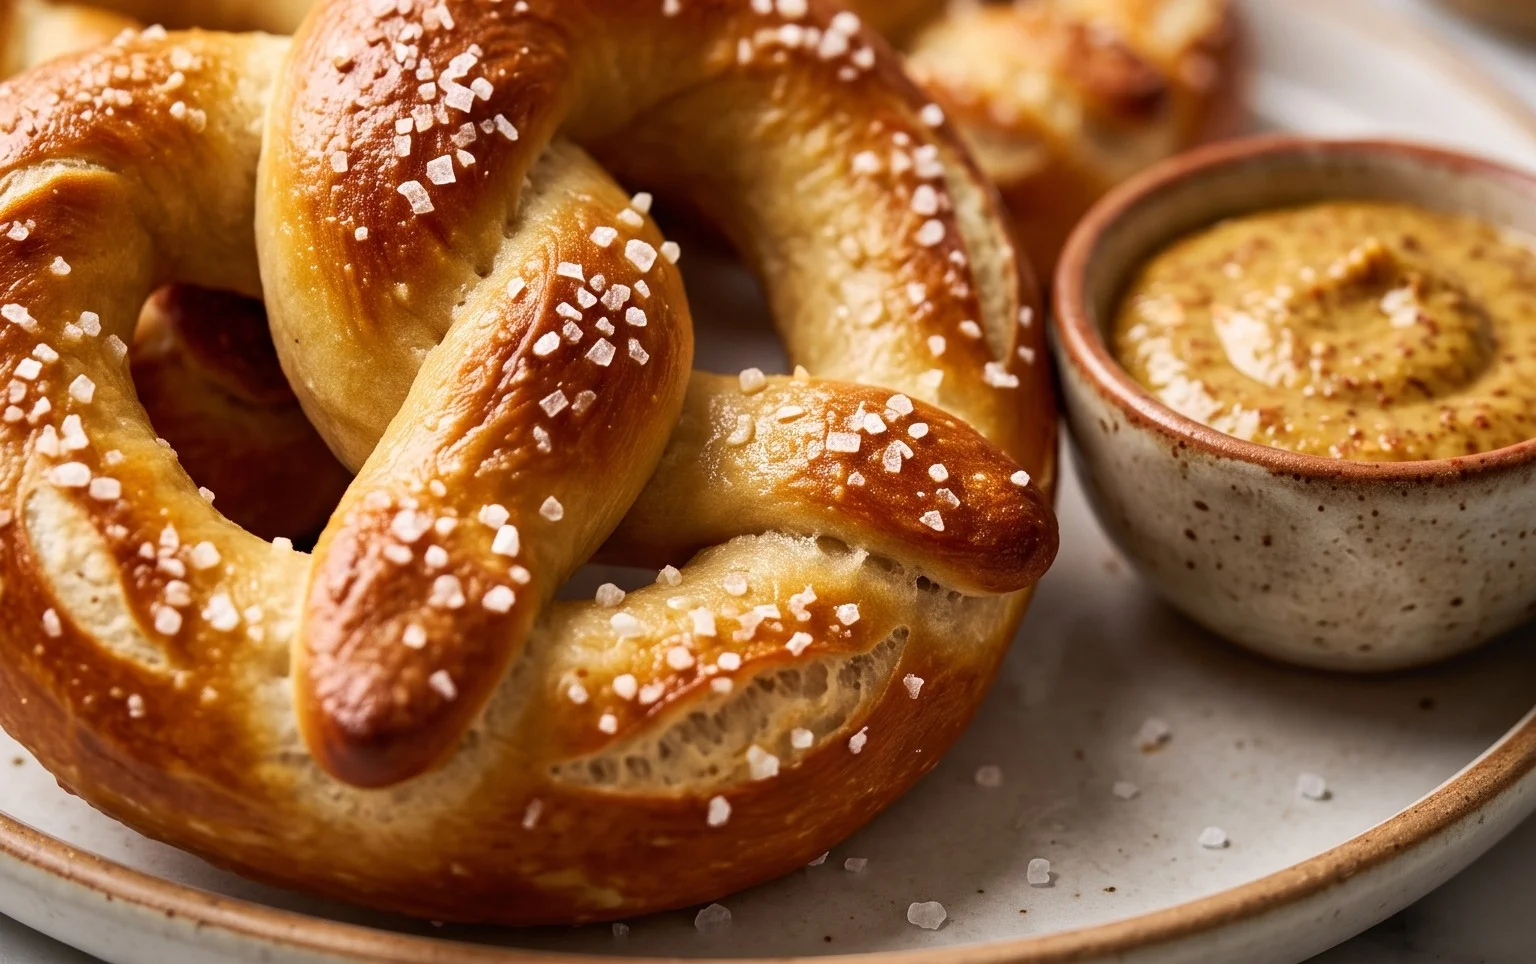
You’ve made it to the end, and I hope you’re feeling inspired to whip up your own batch of these incredibly easy homemade soft pretzels! This recipe truly delivers on its promise of a simple, satisfying pretzel-making experience. The beauty of this recipe lies in its straightforward approach, using common pantry ingredients and minimal fuss, proving that delicious, bakery-quality pretzels are absolutely achievable in your own kitchen. They’re wonderfully versatile, perfect for snacking straight from the oven, dunked in your favorite cheese sauce, or even enjoyed with a sweet mustard. Don’t be afraid to experiment! You can easily add everything bagel seasoning before baking, or even a sprinkle of cinnamon sugar for a sweet twist. The aroma alone will fill your home with a sense of warmth and accomplishment. So, go ahead, gather your ingredients, and give this recipe a try. I promise, you won’t be disappointed!
Frequently Asked Questions:
Can I make these pretzels ahead of time?
Yes, you can! You can prepare the dough and let it rise, then punch it down and refrigerate it for up to 24 hours. For fully formed pretzels, you can shape them, let them rise, and then refrigerate them on a baking sheet before boiling and baking. This makes them even easier to bake when you’re ready for a fresh pretzel fix.
What’s the best way to store leftover pretzels?
Once cooled, store your pretzels in an airtight container at room temperature for up to 2 days. For longer storage, you can freeze them once they’ve cooled completely. Reheat them in a preheated oven at around 350°F (175°C) for a few minutes until warmed through and slightly crispy.
Easy Homemade Soft Pretzels Recipe
Whip up a batch of delicious, soft, and chewy homemade pretzels with this easy-to-follow recipe. Perfect for snacks or appetizers!
Ingredients
-
1 ½ cups warm water
-
1 Tablespoon sugar
-
2 teaspoons kosher salt
-
1 package active dry yeast (or 2 ¼ teaspoons)
-
4 ½ cups all-purpose flour
-
¼ cup melted butter
-
10 cups water
-
2/3 cups baking soda
-
1 large egg yolk with 1 tablespoon of water
-
Pretzel Salt
-
Non-stick cooking spray
-
2 tablespoons of butter
-
2 tablespoons of flour
-
1 cup milk
-
1 cup grated cheddar cheese
Instructions
-
Step 1
In a large bowl, dissolve sugar and yeast in warm water. Let stand for 5 minutes until foamy. -
Step 2
Add flour, 2 teaspoons kosher salt, and ¼ cup melted butter to the yeast mixture. Mix until a dough forms. Knead on a lightly floured surface for 5-7 minutes until smooth and elastic. -
Step 3
Place dough in a greased bowl, cover, and let rise in a warm place for 1 hour, or until doubled in size. -
Step 4
Preheat oven to 400°F (200°C). Line a baking sheet with parchment paper and lightly grease with non-stick cooking spray. Prepare the cheese sauce by melting 2 tablespoons of butter in a saucepan, whisking in 2 tablespoons of flour, then gradually whisking in 1 cup of milk. Cook until thickened. Stir in 1 cup of grated cheddar cheese until melted and smooth. Set aside. -
Step 5
Divide dough into 8 equal portions. Roll each portion into a rope about 18 inches long. Shape into pretzels. Dip each pretzel into the baking soda water solution (10 cups water + 2/3 cups baking soda) for 30 seconds. Place on the prepared baking sheet. -
Step 6
Brush pretzels with the egg wash and sprinkle generously with pretzel salt. -
Step 7
Bake for 12-15 minutes, or until golden brown. Serve warm with the cheddar cheese sauce for dipping.
Important Information
Nutrition Facts (Per Serving)
It is important to consider this information as approximate and not to use it as definitive health advice.
Allergy Information
Please check ingredients for potential allergens and consult a health professional if in doubt.