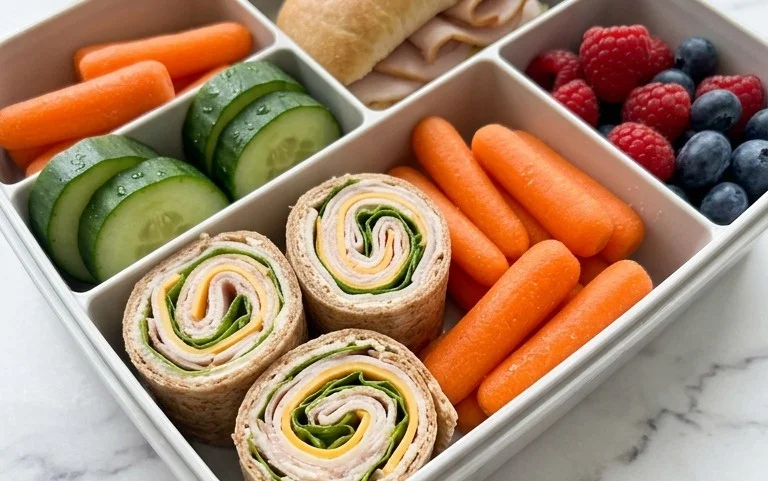
Easy School Lunchbox Ideas Quick & Healthy Meals
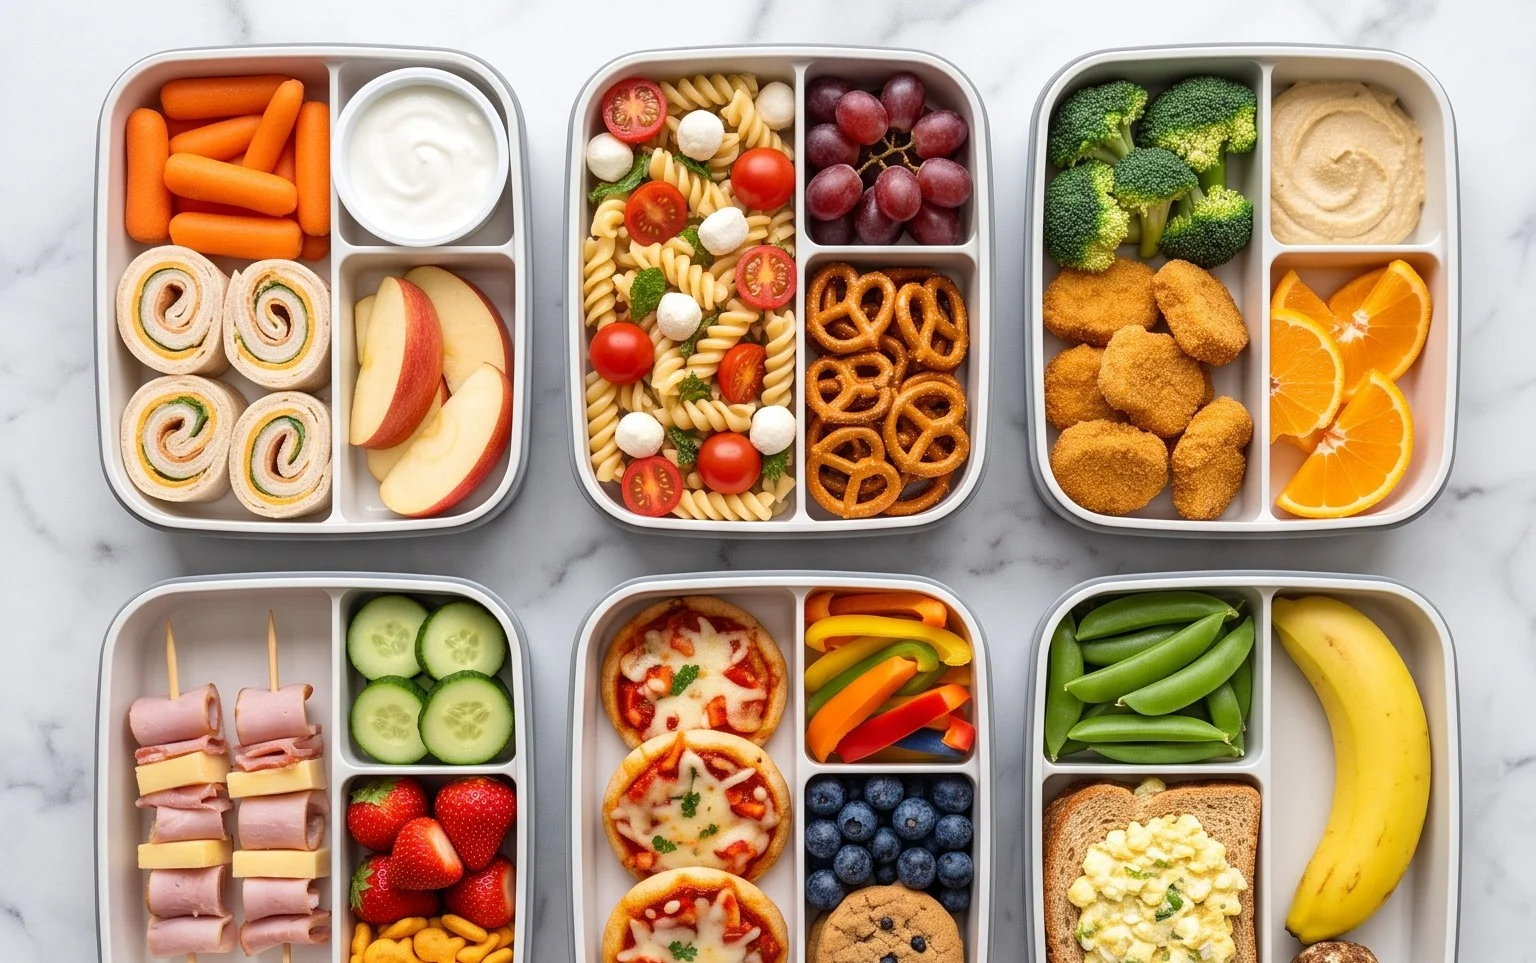
Six school lunchbox ideas are what I’m absolutely thrilled to share with you today! As a parent who’s navigated the morning rush more times than I can count, I know firsthand the delightful challenge of packing nutritious and exciting meals that will actually get eaten. Forget the soggy sandwiches and the plain old apples; we’re talking about turning your child’s lunchbox into a beacon of deliciousness. What makes these school lunchbox ideas so special is their versatility and how they spark joy in little eaters. They’re designed to be both a visual treat and a flavor adventure, ensuring that lunchtime isn’t just a break, but a moment of anticipation and satisfaction. These aren’t just meals; they’re little parcels of love and careful planning, crafted to fuel young minds and active bodies throughout the school day. Let’s dive into these six school lunchbox ideas and make lunchtime something to look forward to!
Ingredients:
- Whole wheat bread slices
- Cream cheese
- Cucumber
- Smoked salmon
- Tortillas
- Black beans, canned and rinsed
- Corn, canned or frozen
- Shredded cheddar cheese
- Salsa
- Pasta, cooked and cooled
- Cherry tomatoes, halved
- Bell pepper, diced
- Rotisserie chicken, shredded
- Pesto
- Hard-boiled eggs
- Mixed greens
- Carrot sticks
- Apple slices
- Grapes
- Yogurt tubes
- Trail mix (nuts, seeds, dried fruit)
It can be a real challenge to come up with exciting and nutritious lunchbox ideas that our kids will actually eat. We’ve all been there, staring into the fridge, trying to assemble something that’s both healthy and appealing, only to be met with groans. That’s why I’ve put together six school lunchbox ideas that are simple to prepare, packed with goodness, and most importantly, delicious enough to disappear by lunchtime. These are designed to be easily customizable too, so you can adapt them to your child’s specific tastes and any dietary needs.
1. Smoked Salmon & Cream Cheese Pinwheels
These are always a hit! They look fun and are so easy to eat. The cream cheese acts as a binder for the salmon, and rolling them up makes them bite-sized and perfect for little hands.
Ingredients for Pinwheels:
- Whole wheat bread slices
- Cream cheese
- Cucumber, thinly sliced
- Smoked salmon
Instructions:
- Start by removing the crusts from your whole wheat bread slices. This step is optional, but it makes the pinwheels easier to roll tightly. You can save the crusts for breadcrumbs later!
- Gently flatten each bread slice with a rolling pin. You want them thin and pliable, but not so thin that they tear easily. This helps in creating a neat roll.
- Spread a generous, even layer of cream cheese over each flattened bread slice. Make sure to go close to the edges, as this will help seal the pinwheel once it’s rolled.
- Lay a few thin slices of cucumber onto the cream cheese. These add a lovely crunch and freshness.
- Next, arrange a layer of smoked salmon over the cucumber. Don’t overload it, as this can make rolling difficult. You want just enough to get that delicious salmon flavor in every bite.
- Starting from one edge, carefully and tightly roll up the bread slice. As you roll, press gently to keep everything compact. Once rolled, slice the log into 1-inch thick pinwheels. You can secure them with a toothpick if they seem a bit loose, but usually, the cream cheese holds them together well.
2. Quick Bean & Corn Quesadillas
These are fantastic for using up leftover beans and corn, and they’re surprisingly filling. The combination of protein from the beans and the sweetness of the corn is a winner.
Ingredients for Quesadillas:
- Tortillas
- Black beans, canned and rinsed
- Corn, canned or frozen
- Shredded cheddar cheese
- Salsa (for dipping or adding inside)
Instructions:
- Drain and thoroughly rinse the black beans. You can gently mash about half of them with a fork. This gives a bit more texture to the filling and helps it hold together better.
- In a bowl, combine the rinsed beans (mashed and whole), corn, and a good handful of shredded cheddar cheese. You can add a tablespoon or two of salsa into the bean and corn mixture for extra flavor, or reserve it for dipping.
- Lay out a tortilla and spread half of the bean and corn mixture evenly over one half of the tortilla.
- Fold the other half of the tortilla over the filling to create a half-moon shape. Press down gently.
- Heat a non-stick skillet or griddle over medium heat. Carefully place the folded quesadilla onto the hot surface. Cook for about 3-4 minutes per side, or until the tortilla is golden brown and crispy, and the cheese is melted and gooey. Repeat with the remaining ingredients. Once cooled slightly, cut into wedges for easy packing.
3. Pesto Pasta Salad with Chicken
A cold pasta salad is a classic for a reason. It’s easy to make ahead and tastes great at room temperature. The pesto adds a burst of flavor, and the chicken makes it a more substantial meal.
Ingredients for Pasta Salad:
- Pasta, cooked and cooled
- Cherry tomatoes, halved
- Bell pepper, diced
- Rotisserie chicken, shredded
- Pesto
Instructions:
- Ensure your pasta is cooked al dente and has cooled completely. Pasta that is too hot will make the salad mushy. You can rinse it under cold water after draining to stop the cooking process and cool it down quickly.
- In a large mixing bowl, combine the cooled pasta, halved cherry tomatoes, and diced bell pepper. Aim for roughly equal amounts of each vegetable to ensure a good mix of textures and colors.
- Add the shredded rotisserie chicken to the bowl. Using pre-cooked chicken saves a lot of time, and rotisserie chicken is usually very tender and flavorful.
- Spoon in your pesto. Start with a couple of tablespoons and add more to your taste. You want enough pesto to lightly coat everything without making it greasy. Stir gently to distribute the pesto evenly, ensuring all the ingredients are well coated.
- Taste and adjust seasoning if needed. You might want to add a pinch of salt and pepper, or even a squeeze of lemon juice for brightness. Pack into your lunchbox once ready.
4. “Deconstructed” Lunchbox Bento
This is more about assembly than cooking, and it’s a fantastic way to present a variety of healthy snacks and a main element. It’s like a fun, edible puzzle!
Components:
- Hard-boiled eggs
- Mixed greens
- Carrot sticks
- Apple slices
- Grapes
- A small container of hummus or cheese cubes
Instructions:
- Boil your eggs in advance so they are ready to go. Once cooled, peel them and either pack them whole or slice them in half.
- Wash and prepare your fruits and vegetables. Cut carrots into sticks, core and slice apples, and wash grapes.
- Arrange a small bed of mixed greens in one section of the lunchbox. This adds freshness and visual appeal.
- Place the hard-boiled eggs, carrot sticks, apple slices, and grapes in separate compartments or sections of the lunchbox.
- Include a small container of hummus, a handful of cheese cubes, or even some whole-grain crackers as an additional component. The goal is variety and the child can pick and choose what they want to eat.
5. Mini Turkey & Cheese Roll-ups
Simple, quick, and always a winner. These are essentially mini sandwiches without the bread, which can be a nice change of pace.
Ingredients:
- Whole wheat tortillas
- Sliced turkey breast
- Sliced cheese (cheddar, provolone, or Swiss work well)
Instructions:
- Lay out your whole wheat tortillas.
- Place a few slices of turkey breast evenly over the surface of each tortilla. Overlapping them slightly is fine.
- Layer slices of your chosen cheese on top of the turkey.
- Tightly roll up each tortilla from one edge to the other, creating a compact cylinder.
- Using a sharp knife, slice each rolled tortilla into 1-inch thick pinwheels. These are easy for little ones to hold and eat, and they look appealing.
6. Yogurt Parfait with Fruit and Granola
A sweet treat that’s still healthy. Layering makes it feel special, and it’s a great way to get in some dairy and fruit.
Ingredients:
- Yogurt tubes (or plain yogurt)
- Fresh berries (strawberries, blueberries)
- Granola
Instructions:
- If you’re using yogurt tubes, you can either freeze them slightly so they stay cold longer, or pack them in an insulated lunch bag with an ice pack. If using plain yogurt, pack it in a small, lidded container.
- Wash and prepare your fresh berries. If using strawberries, hull and slice them.
- In a small jar or a sturdy container that can be packed securely, layer the yogurt with the fresh berries and granola. You can do a few layers of each for a visually appealing parfait.
- It’s best to pack the granola separately in a small bag or container and have your child add it just before eating to prevent it from getting soggy. This ensures a nice crunch.
These six ideas should give you a great starting point for creating varied and appealing school lunches. Remember to always pack with an ice pack to keep perishable items safe and cool throughout the school day. Happy lunch packing!
Conclusion:
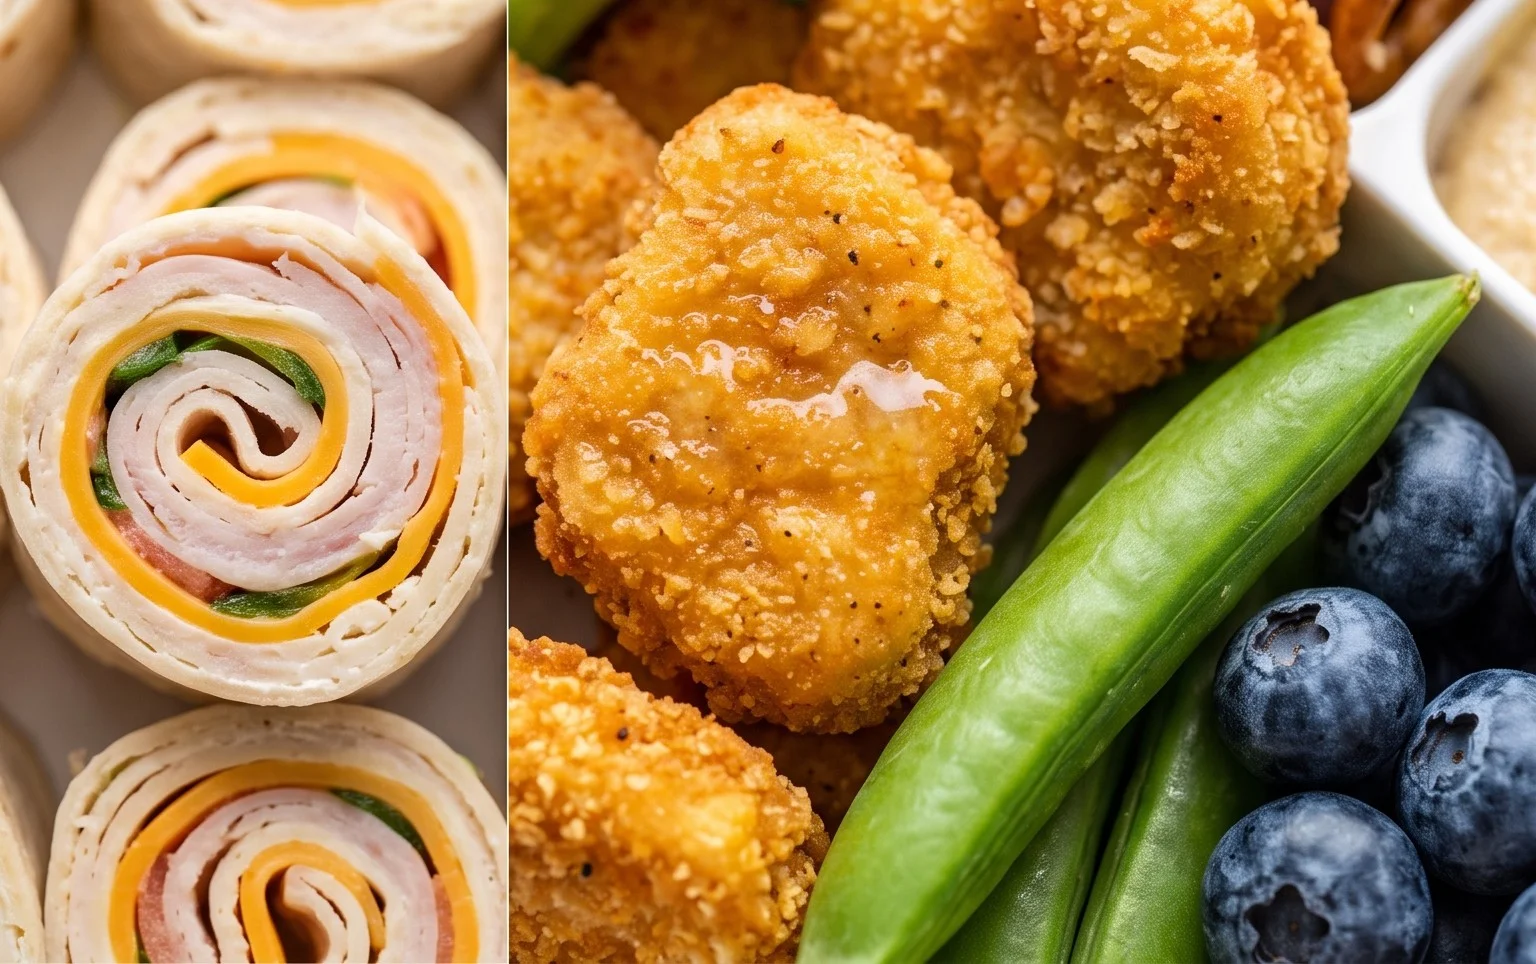
I hope you’ve enjoyed exploring these six school lunchbox ideas! They are fantastic because they offer a delicious, healthy, and exciting alternative to the usual sandwich routine. Each recipe is designed to be nutritious, visually appealing, and most importantly, kid-approved. Whether you’re packing for a picky eater or a seasoned lunchbox adventurer, these options provide variety and fuel for a busy school day. Don’t be afraid to get creative with serving suggestions; pack them alongside some fresh fruit, crunchy veggies, or a healthy dip. Feel free to adapt these recipes to suit your child’s preferences and any dietary needs they might have. The beauty of these lunchbox ideas lies in their flexibility. I truly encourage you to give them a try and see the smiles they bring to your little ones’ faces. Making lunch exciting doesn’t have to be a chore; it can be a fun part of your day!
Frequently Asked Questions:
Q: Can these lunchbox ideas be prepared ahead of time?
Absolutely! Most of these recipes are perfect for batch cooking or prepping components the night before. For instance, the pasta salad can be made entirely in advance, and the muffin liners for the mini quiches can be prepared. This will significantly cut down on morning chaos, making your school runs much smoother. Storing them in airtight containers in the refrigerator is key to keeping them fresh.
Q: What if my child doesn’t like certain ingredients?
That’s where the fun of variations comes in! For the pasta salad, swap out the vegetables for ones your child enjoys. If they’re not keen on pesto, a simple vinaigrette or even a light tomato sauce works well. For the mini quiches, consider different fillings like finely chopped beef ham and cheese, or spinach and mushroom. The goal is to find what works for your unique eater, and these recipes offer a great starting point for customization.
Q: How can I make these lunchbox ideas more exciting visually?
Presentation can make a big difference! Use fun cookie cutters to shape cheese slices or fruit. Pack colorful fruits and vegetables like cherry tomatoes, bell pepper strips, or berries. Even a cute bento box with different compartments can add visual appeal. Small touches like a handwritten note or a fun sticker can also elevate the lunchbox experience for your child.
Six School Lunchbox Ideas
A collection of six simple and appealing lunchbox ideas perfect for school.
Ingredients
-
2 slices whole wheat bread
-
2 tablespoons cream cheese
-
1/2 cup shredded cheddar cheese
-
1/4 cup cooked, diced chicken breast
-
1/4 cup cherry tomatoes, halved
-
1/2 cup cucumber, sliced
-
1/4 cup grapes, halved
Instructions
-
Step 1
Spread cream cheese on one slice of whole wheat bread. -
Step 2
Top with shredded cheddar cheese and diced chicken breast. -
Step 3
Place the other slice of bread on top and cut into shapes if desired. -
Step 4
Pack cherry tomatoes, cucumber slices, and halved grapes in separate compartments. -
Step 5
Arrange all components neatly in the lunchbox. -
Step 6
Repeat with variations for the remaining five lunchbox ideas, focusing on a balanced mix of proteins, vegetables, and fruits.
Important Information
Nutrition Facts (Per Serving)
It is important to consider this information as approximate and not to use it as definitive health advice.
Allergy Information
Please check ingredients for potential allergens and consult a health professional if in doubt.