No Bake Pumpkin Pie Cheesecake Creamy Fall Dream
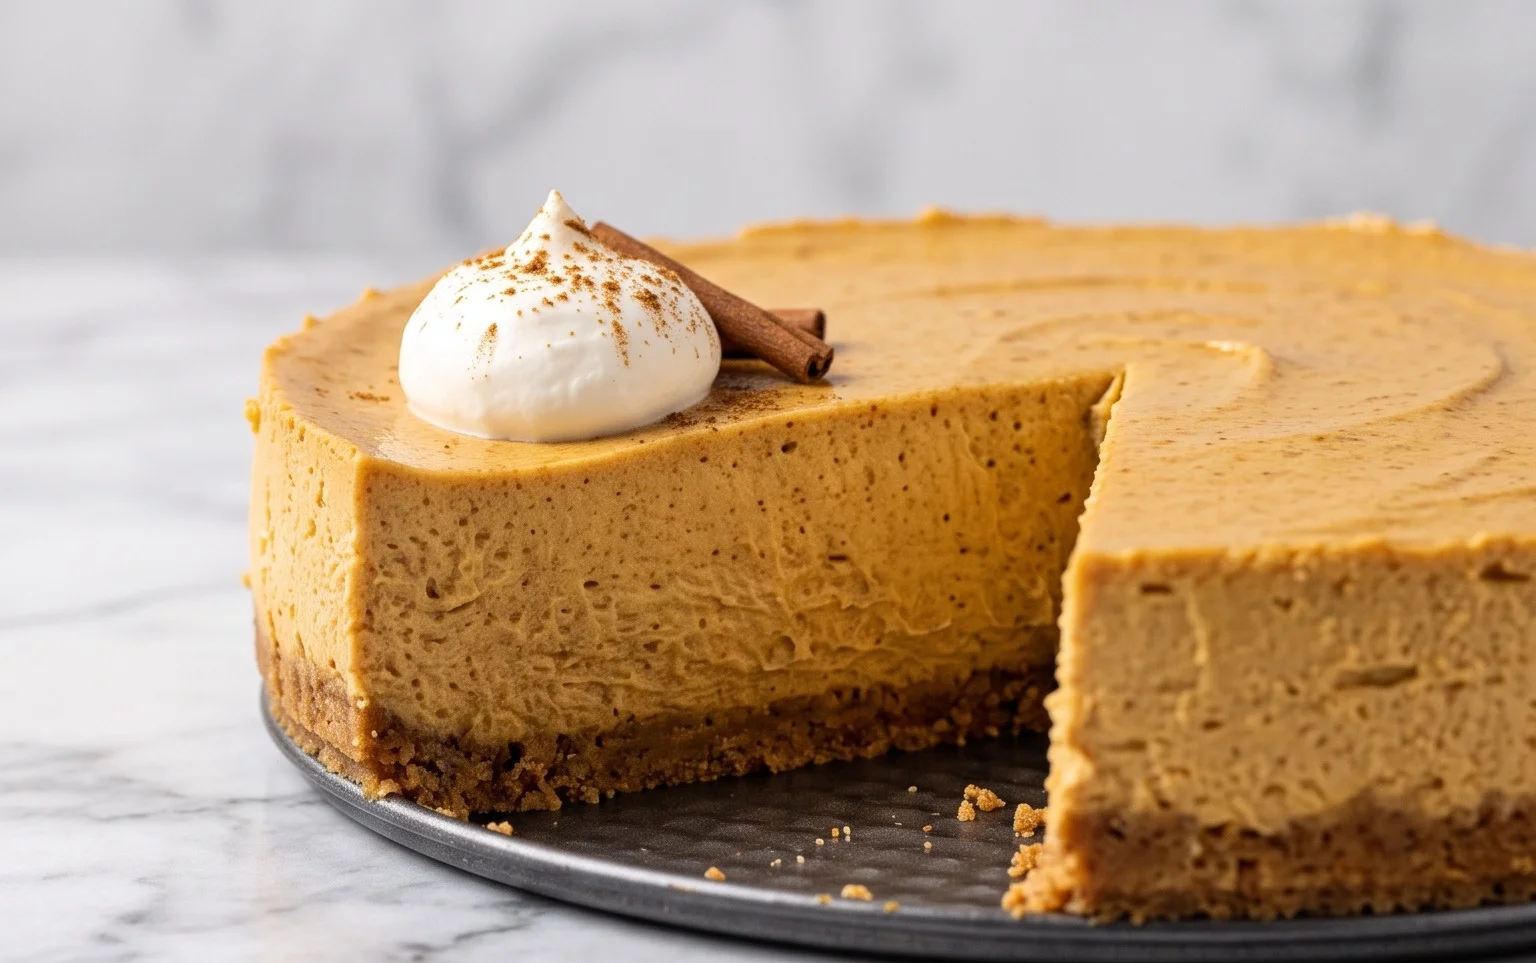
No Bake Pumpkin Pie Cheesecake is the ultimate dessert dream for those who crave cozy fall flavors without the oven fuss. Imagine sinking your spoon into a velvety smooth cheesecake filling, infused with warm pumpkin spice, all nestled atop a crisp, buttery graham cracker crust. It’s no wonder this dessert has captured so many hearts! The sheer ease of preparation, combined with that irresistible combination of tangy cheesecake and sweet pumpkin, makes it a guaranteed crowd-pleaser. What truly sets this No Bake Pumpkin Pie Cheesecake apart is its perfect balance: it delivers all the beloved essence of traditional pumpkin pie and classic cheesecake, yet is remarkably light and airy, making it a refreshing, yet indulgent, treat that’s perfect for any occasion. I can’t wait to share how easy it is to create this magic in your own kitchen!
No-Bake Pumpkin Pie Cheesecake
There’s something undeniably comforting about the flavors of fall, and pumpkin pie is at the top of that list. But what if you’re craving that creamy, decadent cheesecake texture along with your beloved pumpkin spice? Enter the No-Bake Pumpkin Pie Cheesecake! This recipe is a dream come true for those who love the taste of pumpkin pie but prefer a simpler, no-oven-required approach. It’s the perfect dessert for gatherings, holidays, or just a cozy night in. The beauty of this recipe lies in its simplicity – no complicated steps, no fear of overbaking, just pure deliciousness.
Ingredients:
- 4 ounces cream cheese, softened
- ¼ cup white granulated sugar
- 8 ounces Cool Whip, divided in half
- 1 10-inch pre-made graham cracker crust
- ¼ cup instant vanilla pudding mix (½ of a 3.4oz box)
- ½ cup milk
- 1 cup canned pumpkin puree
- 1 teaspoon pumpkin pie spice
- ½ teaspoon nutmeg
- ½ tablespoon cinnamon
Instructions:
Step 1: Creating the Creamy Cheesecake Base
The foundation of our no-bake masterpiece is a luscious, smooth cheesecake filling. In a medium mixing bowl, combine the softened cream cheese and the white granulated sugar. It’s crucial that your cream cheese is softened to room temperature. This will ensure that it creams beautifully with the sugar, resulting in a lump-free filling. You can achieve this by leaving it on the counter for about an hour or by gently microwaving it in short bursts (10-15 seconds at a time) until pliable, being careful not to melt it. Using an electric mixer (handheld or stand mixer) is the easiest way to achieve a perfectly smooth consistency. Beat these two ingredients together until they are light, fluffy, and well combined, with no visible streaks of sugar. Once this base is smooth and creamy, it’s time to incorporate half of your Cool Whip. Gently fold in 4 ounces of the Cool Whip using a spatula. Be gentle here to maintain the airy texture of the whipped topping. This folding technique is key to keeping the filling light and cloud-like, rather than dense.
Step 2: Infusing with Pumpkin Spice Goodness
Now, we’re going to add those quintessential fall flavors to our cheesecake filling. To the cream cheese mixture, add the canned pumpkin puree, pumpkin pie spice, nutmeg, and cinnamon. The canned pumpkin puree should be the plain, unsweetened kind. Avoid pumpkin pie filling, as it already contains added sugar and spices, which will throw off the flavor balance of your cheesecake. Stir these ingredients together until they are just combined and the mixture has a uniform orange hue. Overmixing at this stage isn’t a major concern, but it’s good practice to mix until everything is incorporated to avoid pockets of unmixed spices.
Step 3: Building the Flavorful Pudding Layer
In a separate, smaller bowl, combine the instant vanilla pudding mix with the milk. Whisk these together vigorously until the pudding begins to thicken. This usually takes about 1-2 minutes. The instant pudding mix contains the magic that helps set our no-bake cheesecake without any gelatin or baking. Let this pudding mixture sit for about 5 minutes to fully thicken. Once thickened, gently fold this pudding mixture into the pumpkin and cream cheese base. Again, use a spatula and a gentle folding motion to combine everything without deflating the airy texture we worked to create. The goal is a smooth, homogenous filling that smells wonderfully of pumpkin and spice.
Step 4: Assembling the Cheesecake
With our delicious filling ready, it’s time to assemble the cheesecake. Pour the entire pumpkin cheesecake filling into the pre-made graham cracker crust. Use your spatula to spread the filling evenly into the crust, smoothing the top as much as possible. This will give your cheesecake a professional and appealing finish. Once the filling is spread, take the remaining 4 ounces of Cool Whip and dollop it evenly over the top of the cheesecake. You can then gently spread this out to create a smooth topping, or if you’re feeling artistic, you can create swirls or decorative peaks with your spatula or a piping bag.
Step 5: Chilling to Perfection
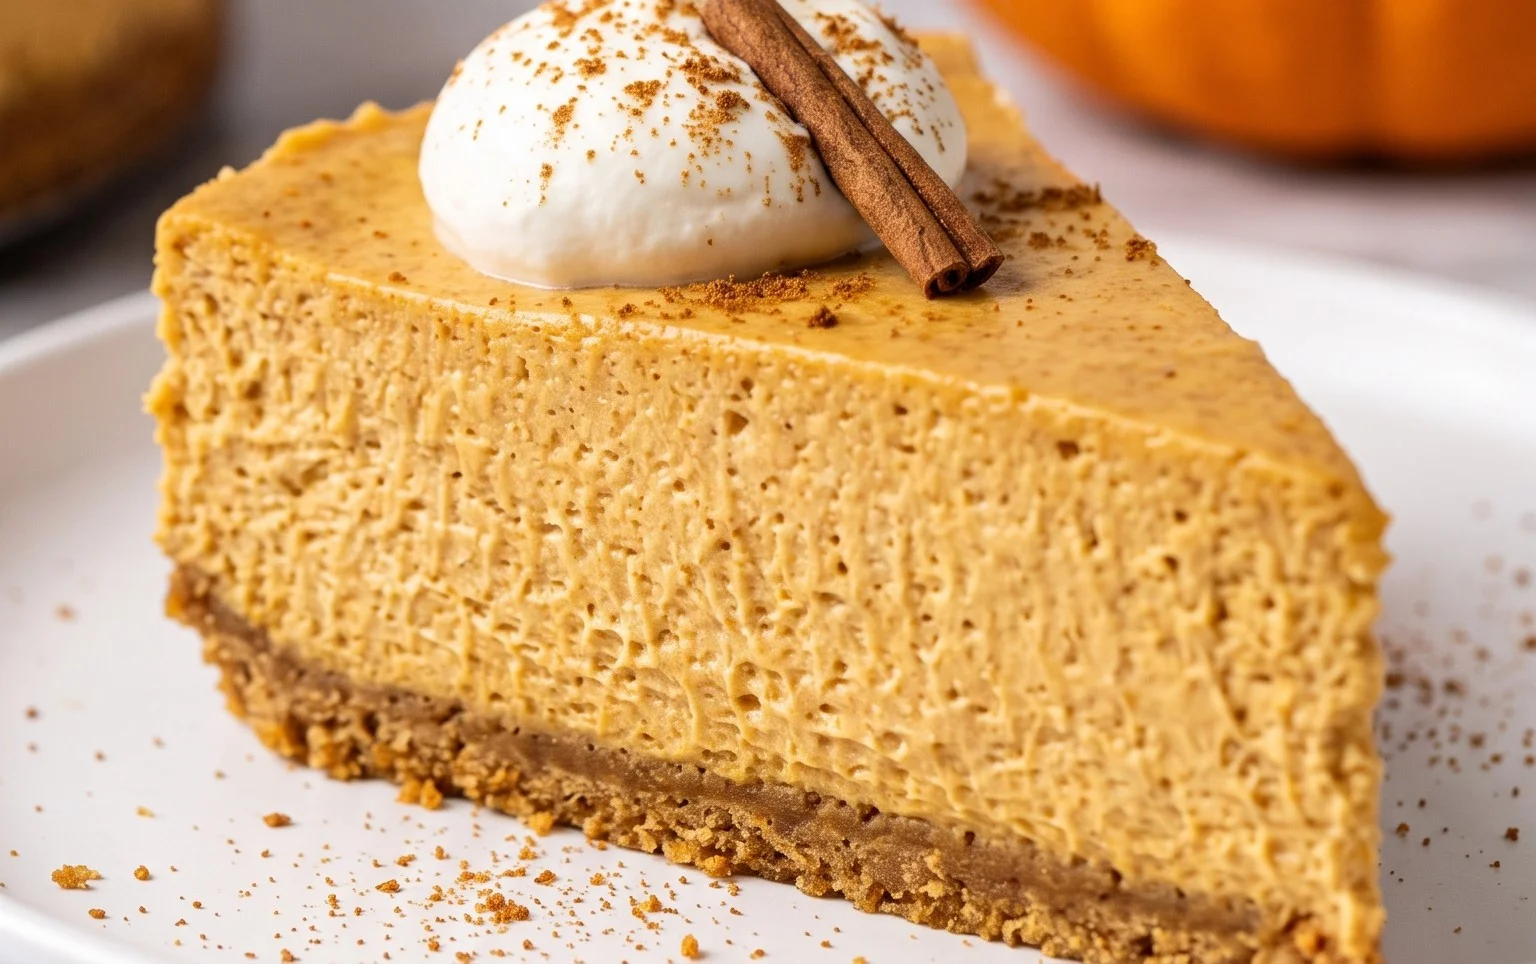
This is the most crucial step for a no-bake dessert: chilling! Cover the assembled cheesecake tightly with plastic wrap, ensuring the plastic wrap doesn’t touch the whipped topping if possible. Place the cheesecake in the refrigerator for at least 4 hours, but preferably overnight. This extensive chilling time allows the cheesecake to fully set and firm up, ensuring those clean slices when you serve it. The longer it chills, the firmer and more sliceable it will become. Once it’s thoroughly chilled, your No-Bake Pumpkin Pie Cheesecake is ready to be sliced and enjoyed! Serve it plain, or garnish with a sprinkle of cinnamon or a dollop of extra Cool Whip. The combination of the crunchy graham cracker crust, the smooth and creamy pumpkin cheesecake filling, and the light, airy topping is simply divine. It’s a dessert that truly captures the essence of autumn without any of the baking fuss.
Conclusion:
So there you have it! This No Bake Pumpkin Pie Cheesecake is a true showstopper, perfect for any occasion and incredibly easy to whip up. The creamy, dreamy filling, infused with warm pumpkin spice, sits atop a buttery graham cracker crust, creating a harmonious balance of flavors and textures. It’s the ultimate dessert for pumpkin lovers who want all the festive taste of pumpkin pie without the fuss of baking. I truly believe this recipe is a game-changer for holiday gatherings or simply a delightful treat to enjoy on a cozy evening.
Serve this magnificent No Bake Pumpkin Pie Cheesecake chilled, perhaps with a dollop of whipped cream and a sprinkle of cinnamon. It also pairs wonderfully with a scoop of vanilla ice cream for an extra decadent experience. For variations, consider adding a swirl of caramel sauce to the filling or topping, or even incorporating a hint of ginger or nutmeg directly into the cream cheese mixture for a deeper spice profile. Don’t be afraid to experiment and make it your own!
I wholeheartedly encourage you to give this recipe a try. It’s a guaranteed crowd-pleaser that requires minimal effort but delivers maximum deliciousness. Enjoy the process, and savor every single bite of this irresistible dessert!
Frequently Asked Questions:
Can I make this cheesecake ahead of time?
Absolutely! This No Bake Pumpkin Pie Cheesecake is actually best when made at least 4-6 hours in advance, or even the day before. This allows the flavors to meld beautifully and the cheesecake to set up perfectly in the refrigerator.
What if I don’t have pumpkin pie spice?
No worries! You can easily create your own pumpkin pie spice blend. Combine 1 teaspoon cinnamon, 1/4 teaspoon ground ginger, 1/8 teaspoon ground cloves, and a pinch of ground nutmeg. Adjust the ratios to your preference!
Can I use a different type of crust?
Certainly! While the graham cracker crust is classic, feel free to get creative. A gingersnap cookie crust or a shortbread cookie crust would also be delicious and complement the pumpkin flavors wonderfully.
No Bake Pumpkin Pie Cheesecake
A quick and easy no-bake cheesecake featuring classic pumpkin pie flavors. Perfect for holidays or any time you crave a festive treat.
Ingredients
-
4 ounces cream cheese, softened
-
1/4 cup white granulated sugar
-
4 ounces Cool Whip
-
1 10 inch pre-made graham cracker crust
-
1/4 cup instant vanilla pudding mix
-
1/2 cup milk
-
1 cup canned pumpkin puree
-
1 teaspoon pumpkin pie spice
-
1/2 teaspoon nutmeg
-
1/2 tablespoon cinnamon
Instructions
-
Step 1
In a medium bowl, beat together the softened cream cheese and white granulated sugar until smooth. -
Step 2
Stir in 1/2 cup of the Cool Whip until well combined. -
Step 3
In a separate bowl, whisk together the instant vanilla pudding mix, milk, canned pumpkin puree, pumpkin pie spice, nutmeg, and cinnamon until smooth. -
Step 4
Gently fold the pudding mixture into the cream cheese mixture until just combined. -
Step 5
Spoon the filling into the pre-made graham cracker crust. -
Step 6
Spread the remaining 4 ounces of Cool Whip evenly over the top of the filling. -
Step 7
Chill in the refrigerator for at least 2 hours, or until firm, before serving.
Important Information
Nutrition Facts (Per Serving)
It is important to consider this information as approximate and not to use it as definitive health advice.
Allergy Information
Please check ingredients for potential allergens and consult a health professional if in doubt.