Gluten Free Chocolate Chip Cookies – G F Bliss
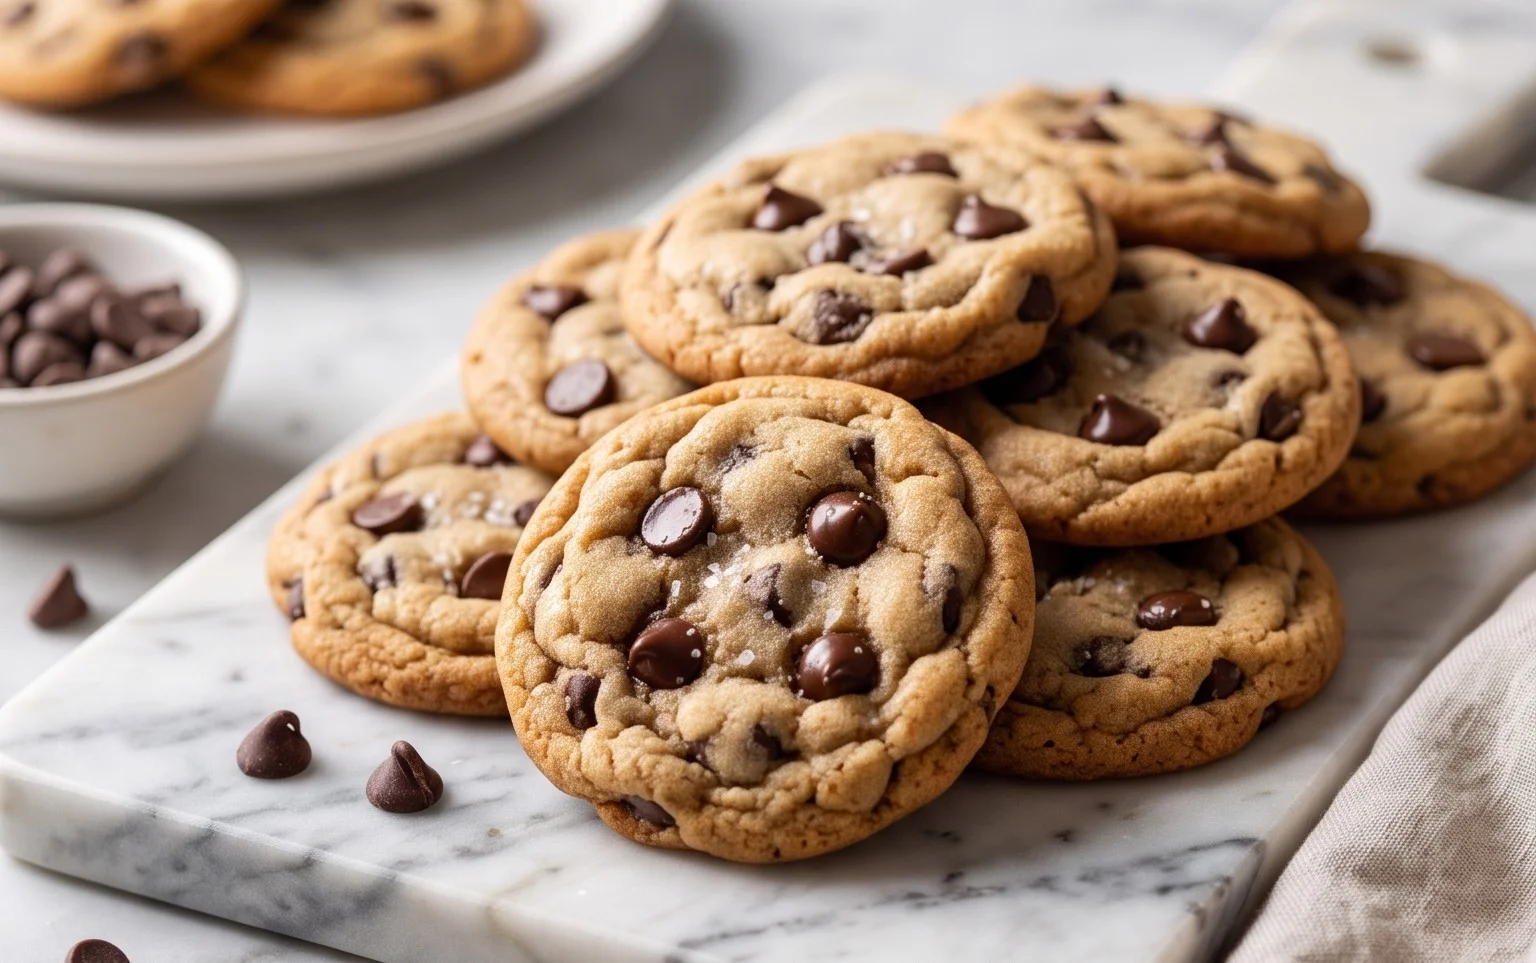
Gluten Free Chocolate Chip Cookies. Ah, the very phrase conjures up images of warm, gooey centers and perfectly crisp edges, doesn’t it? For so many of us, a classic chocolate chip cookie isn’t just a treat; it’s a portal to childhood memories, a comforting embrace on a tough day, and the ultimate symbol of simple indulgence. But what if you’re navigating the world of gluten-free living? Does that mean saying goodbye to this iconic delight? Absolutely not! These Gluten Free Chocolate Chip Cookies are here to prove that you can have all the chewy, chocolatey goodness you crave, without a trace of gluten. What makes these recipes truly special is their ability to deliver that universally loved cookie experience – the perfect balance of sweet dough and melting chocolate chips – while being entirely accessible to those with gluten sensitivities. Get ready to rediscover your favorite cookie, made just for you.
Gluten Free Chocolate Chip Cookies
There’s nothing quite like a warm, gooey chocolate chip cookie, and for those of us who navigate the world of gluten-free eating, it can sometimes feel like a distant dream. But I’m here to tell you that dream is very much within reach! These gluten-free chocolate chip cookies are not just a substitute; they are a revelation. They possess that perfect balance of chewy edges and a soft, tender center, all bursting with rich chocolatey goodness. The key to their success lies in using the right gluten-free flour blend, which I’ve found Bob’s Red Mill 1:1 Baking Flour to be absolutely fantastic for this purpose. It mimics the texture and behavior of traditional wheat flour remarkably well, ensuring your cookies won’t be crumbly or dry. Whether you’re baking for yourself, for friends with gluten sensitivities, or simply looking for a seriously delicious cookie recipe, prepare to be impressed.
Ingredients:
- 1/2 cup butter (regular or dairy free), softened
- 1/3 cup granulated sugar
- 1/3 cup light brown sugar, packed
- 1/3 cup dark brown sugar, packed
- 1 large egg (room temperature)
- 2 teaspoons vanilla extract
- 1 1/2 cups Bob’s Red Mill GF 1:1 Baking Flour (Blue Bag)
- 1/2 teaspoon baking soda
- 1/4 teaspoon baking powder
- 1/4 teaspoon salt
- 1 cup chocolate chips (semi-sweet or dark chocolate are my favorites)
Creating the Perfect Cookie Dough
The first step in any great cookie recipe is creating a well-balanced dough, and this gluten-free version is no different. We’re aiming for a texture that’s both easy to work with and will yield delicious results.
1. Creaming the Butter and Sugars: In a large mixing bowl, combine the softened butter with the granulated sugar, light brown sugar, and dark brown sugar. Using an electric mixer (a hand mixer or stand mixer will work beautifully), beat these ingredients together on medium speed until the mixture is light, fluffy, and pale in color. This process, known as creaming, is crucial. It incorporates air into the butter and sugar mixture, which contributes to the cookies’ leavening and tender texture. Don’t rush this step; it should take about 2-3 minutes. You want to see that the sugars are fully incorporated and the butter has lightened in color and volume.
2. Adding Wet Ingredients: Once the butter and sugars are perfectly creamed, it’s time to introduce the wet ingredients. Add the room temperature egg and the vanilla extract to the bowl. Continue to beat on medium speed until everything is just combined and smooth. Be careful not to overmix at this stage, as we don’t want to develop any toughness in the dough. A room temperature egg incorporates more easily into the batter and helps create a smoother, more uniform texture. If your egg is cold, you can quickly warm it by placing it in a bowl of warm water for a few minutes.
3. Whisking Together Dry Ingredients: In a separate medium-sized bowl, whisk together the Bob’s Red Mill GF 1:1 Baking Flour, baking soda, baking powder, and salt. Whisking these dry ingredients together ensures that the leavening agents (baking soda and baking powder) and salt are evenly distributed throughout the flour. This is essential for consistent rise and flavor in your cookies. The Bob’s Red Mill GF 1:1 Baking Flour is specifically formulated to replace all-purpose flour in recipes, so you don’t need to add any xanthan gum separately, as it’s already included in the blend.
4. Combining Wet and Dry: Gradually add the dry ingredient mixture to the wet ingredient mixture. Mix on low speed (or by hand with a spatula) until just combined. Scrape down the sides of the bowl as needed to ensure all the flour is incorporated. Again, avoid overmixing. You want to see a cohesive dough form, but it shouldn’t look stringy or tough. Overmixing can lead to dense cookies, which is something we definitely want to avoid in our quest for chewy perfection.
5. Incorporating Chocolate Chips: Finally, gently fold in the chocolate chips. You can use a spatula or a wooden spoon for this. Distribute them evenly throughout the dough. If you like, you can reserve a few chocolate chips to press onto the tops of the cookies before baking for an extra aesthetic touch and that classic cookie appearance. This step is where the magic truly happens, transforming our carefully prepared dough into the promised land of chocolate chip goodness.
Baking Your Delicious Gluten-Free Cookies
Now that our dough is ready, it’s time to transform it into warm, delicious cookies. Proper baking is key to achieving that perfect texture.
* Preheating and Preparing: Preheat your oven to 375°F (190°C). Line two baking sheets with parchment paper. Parchment paper not only prevents sticking but also helps with even baking and easy cleanup.
* Portioning the Dough: Drop rounded tablespoons of dough onto the prepared baking sheets, leaving about 2 inches of space between each cookie. This allows them room to spread as they bake. You can use a cookie scoop for uniform size, which will help ensure even baking.
* Baking to Perfection: Bake for 9-12 minutes, or until the edges are golden brown and the centers look slightly underbaked. The cookies will continue to cook on the baking sheet as they cool. It’s crucial not to overbake them if you want that desired chewy texture. The exact baking time will vary depending on your oven and the size of your cookies, so keep a close eye on them during the last few minutes of baking.
* Cooling: Let the cookies cool on the baking sheets for 5-10 minutes before transferring them to a wire rack to cool completely. This resting period allows the cookies to firm up and prevents them from falling apart when you move them.
Enjoy these delightful gluten-free chocolate chip cookies warm with a glass of milk, or once cooled, store them in an airtight container at room temperature for up to 3 days. They are truly a testament to the fact that gluten-free doesn’t mean flavor-free!
Conclusion:
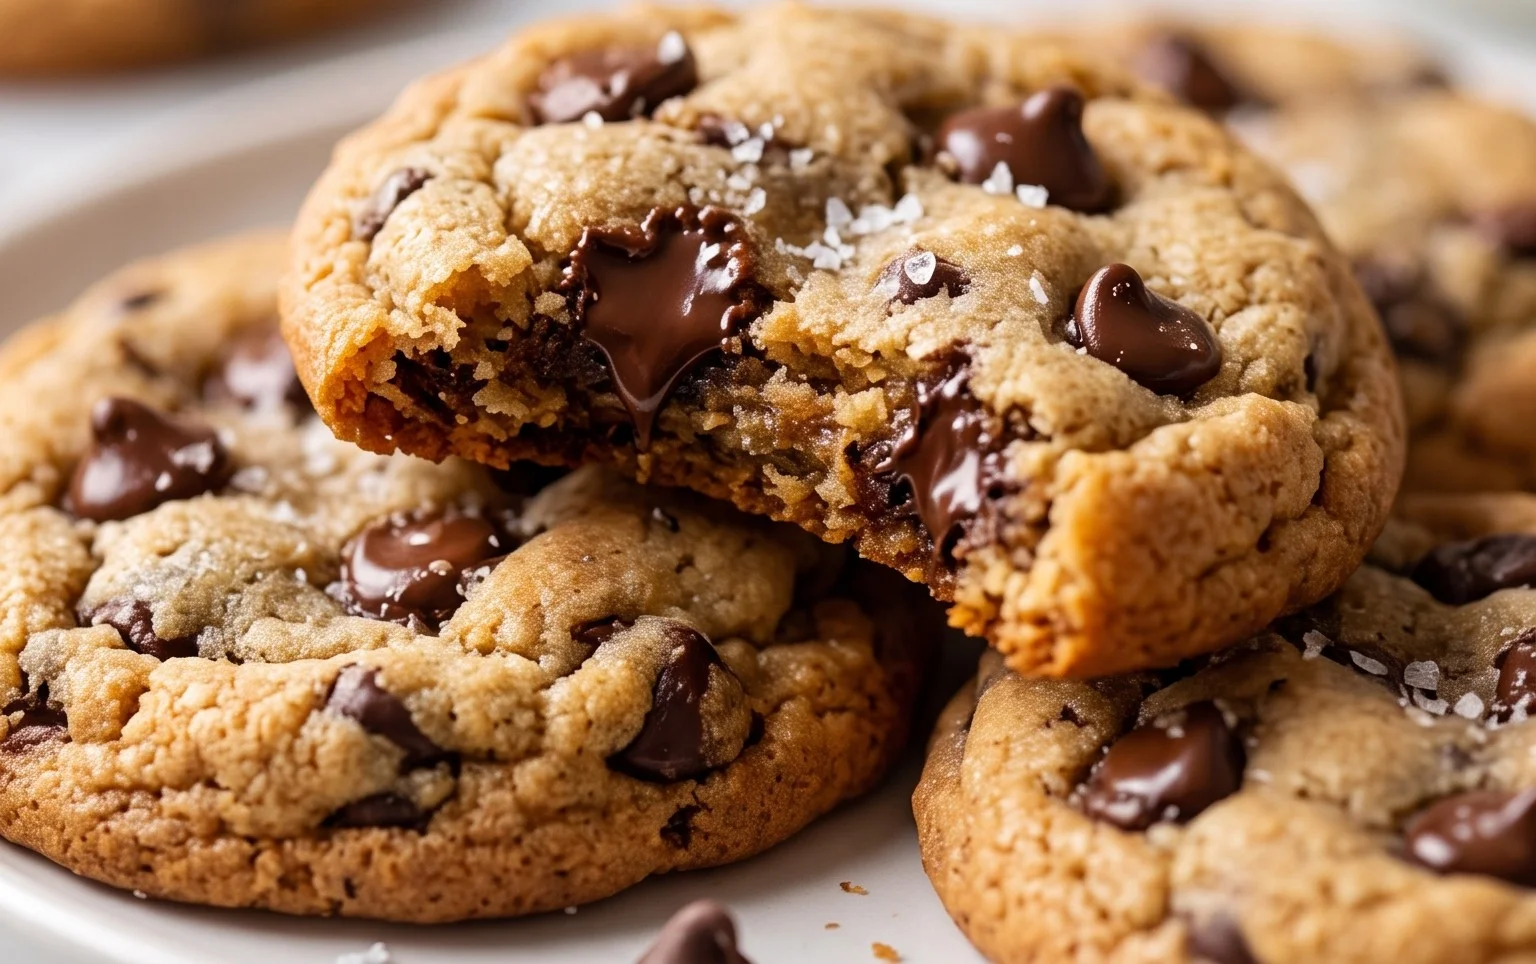
And there you have it – a recipe for truly delightful gluten free chocolate chip cookies! We’ve crafted these with simplicity and amazing taste in mind, ensuring that everyone, regardless of gluten sensitivity, can enjoy that classic, comforting cookie experience. The beauty of this recipe lies in its ability to deliver chewy centers and slightly crisp edges, all while being incredibly forgiving and straightforward to make. They’re perfect for any occasion, whether it’s an after-school treat, a potluck contribution, or simply a moment of self-indulgence with a glass of cold milk.
Don’t hesitate to get creative! Feel free to mix in chopped nuts like walnuts or pecans for added crunch, or even swirl in some caramel for a decadent twist. These cookies are also wonderful when baked slightly less for an even gooier texture, or for a longer period if you prefer them crispier. I truly encourage you to give these gluten free chocolate chip cookies a try. You’ll be amazed at how perfectly they satisfy that sweet craving without any gluten!
Frequently Asked Questions:
Can I substitute the gluten-free flour blend?
While this recipe is specifically formulated for a standard gluten-free all-purpose flour blend containing xanthan gum, you can experiment with other blends. However, results may vary, and you might need to adjust liquid or flour amounts. If your blend doesn’t contain xanthan gum, you’ll need to add about 1 teaspoon.
How should I store these gluten-free chocolate chip cookies?
Store your delicious gluten free chocolate chip cookies in an airtight container at room temperature for up to 3-4 days. For longer storage, you can freeze baked cookies, or freeze the dough in balls for baking fresh whenever the craving strikes!
Gluten Free Chocolate Chip Cookies
Delicious and chewy gluten-free chocolate chip cookies perfect for any occasion.
Ingredients
-
1/2 cup butter (regular or dairy free)
-
1/3 cup granulated sugar
-
1/3 cup light brown sugar
-
1/3 cup dark brown sugar
-
1 large egg (room temperature)
-
2 teaspoons vanilla extract
-
1 1/2 cups Bob’s Red Mill GF 1:1 Baking Flour (Blue Bag)
-
1/2 teaspoon baking soda
-
1/4 teaspoon baking powder
-
1/4 teaspoon salt
-
1 cup chocolate chips
Instructions
-
Step 1
Preheat oven to 375°F (190°C). Line baking sheets with parchment paper. -
Step 2
In a large bowl, cream together the softened butter, granulated sugar, light brown sugar, and dark brown sugar until light and fluffy. -
Step 3
Beat in the egg and vanilla extract until well combined. -
Step 4
In a separate bowl, whisk together the Bob’s Red Mill GF 1:1 Baking Flour, baking soda, baking powder, and salt. -
Step 5
Gradually add the dry ingredients to the wet ingredients, mixing until just combined. Do not overmix. -
Step 6
Stir in the chocolate chips. -
Step 7
Drop rounded tablespoons of dough onto the prepared baking sheets, leaving about 2 inches between cookies. -
Step 8
Bake for 10-12 minutes, or until the edges are golden brown and the centers are still slightly soft. -
Step 9
Let cookies cool on the baking sheets for a few minutes before transferring them to a wire rack to cool completely.
Important Information
Nutrition Facts (Per Serving)
It is important to consider this information as approximate and not to use it as definitive health advice.
Allergy Information
Please check ingredients for potential allergens and consult a health professional if in doubt.