Cozy Homemade Gingerbread Recipe – Festive Comfort
Gingerbread. The very word conjures up visions of cozy kitchens, twinkling lights, and the sweet, spicy aroma that signals the arrival of the holiday season. There’s something undeniably magical about gingerbread, isn’t there? It’s more than just a cookie; it’s a warm hug in edible form, a nostalgic trip back to childhood memories, and a delicious tradition that brings families together. What makes this classic so beloved? It’s that perfect balance of warm spices – ginger, cinnamon, cloves – mingling with molasses for a deep, rich flavor that’s both comforting and invigorating. The texture, whether it’s crisp and snappy or wonderfully chewy, is equally irresistible. And let’s not forget the sheer joy of decorating gingerbread people or constructing whimsical gingerbread houses. It’s a treat that truly captures the spirit of celebration and togetherness, making every bite a moment to savor. This year, let’s bake some magic together.
The Cozy Charm of Homemade Gingerbread
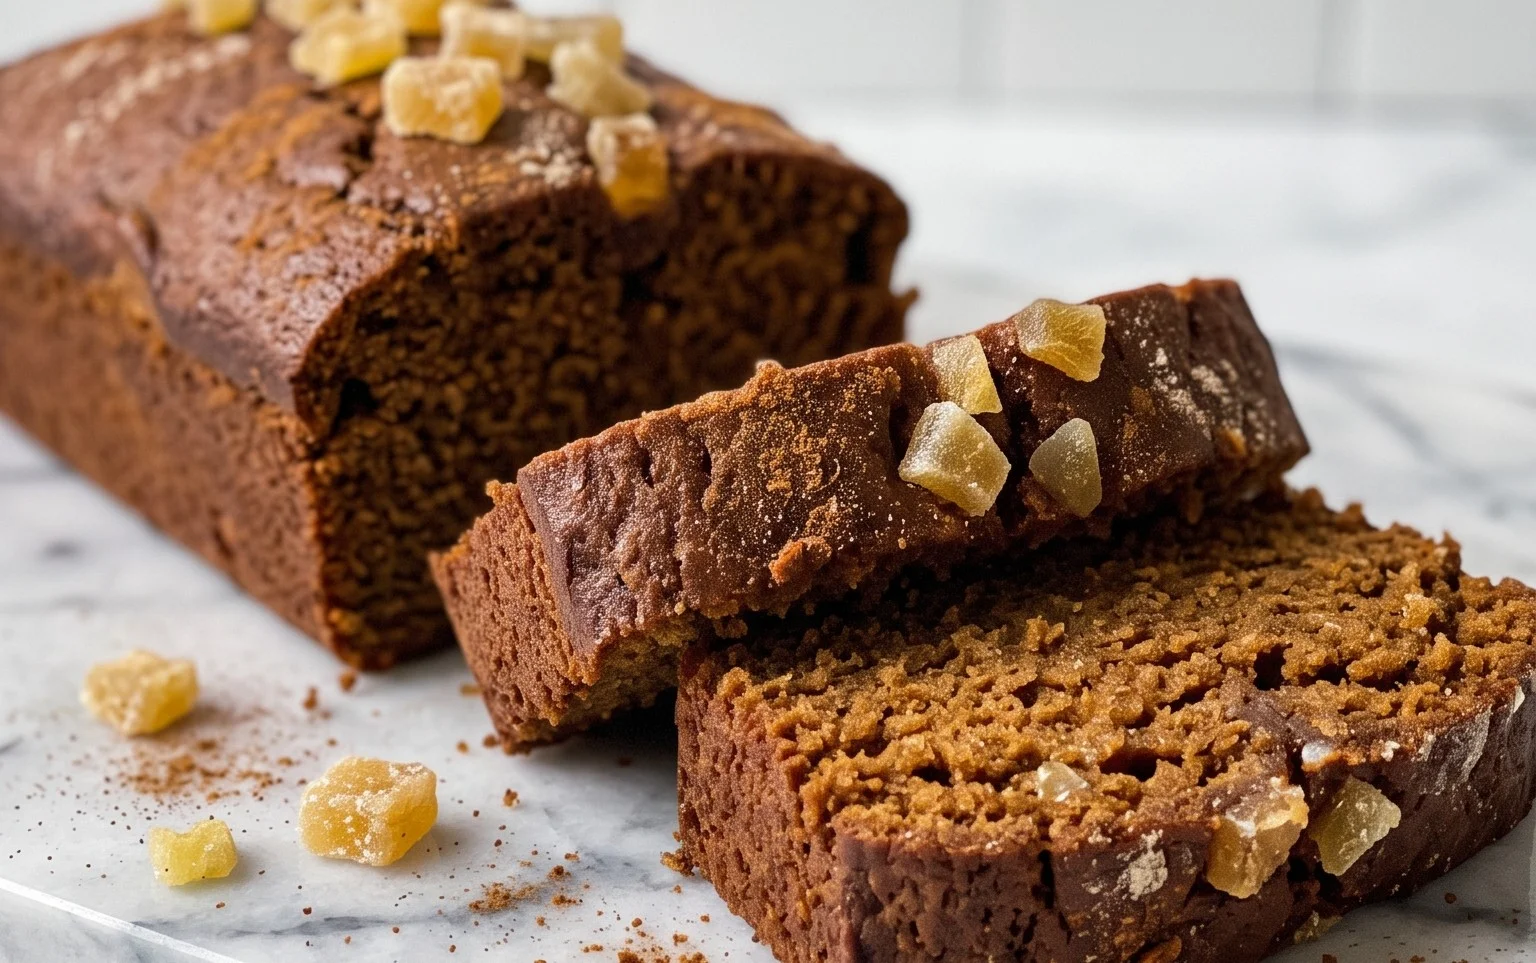
There’s something undeniably magical about gingerbread. The warm, spicy aroma that fills the kitchen, the rich, dark hue, and the satisfying chewiness – it’s a taste of pure comfort and festive cheer. Whether you’re making classic gingerbread cookies for decorating, a show-stopping gingerbread house, or a delightful gingerbread cake, the foundational flavors remain the same, promising a delicious experience. This recipe delivers a wonderfully moist and flavorful gingerbread that’s versatile enough for any holiday or craving. Get ready to fill your home with the irresistible scent of ginger, cinnamon, and molasses!
Ingredients:
- 2 1/3 cup all-purpose flour
- 2 teaspoons ground ginger
- 1 1/2 teaspoons cinnamon
- 1/2 teaspoon nutmeg
- 1/4 teaspoon ground cloves
- 1 1/2 teaspoons baking soda
- 1/4 teaspoon salt
- 3/4 cup unsalted butter (melted)
- 1 cup brown sugar (light or dark)
- 1 cup molasses*
- 1 cup hot water
- 2 large eggs
- 2 teaspoons vanilla extract
- 1/3 cup unsalted butter (for frosting)
- 3/4 cup brown sugar (for frosting)
Crafting the Perfect Gingerbread Dough
The journey to delicious gingerbread begins with combining the right dry and wet ingredients. This recipe is designed to create a dough that’s both easy to handle and yields a wonderfully tender result.
Step 1: Whisking the Dry Ingredients
In a large mixing bowl, I like to start by thoroughly combining all the dry ingredients. This ensures that the spices and leavening agents are evenly distributed throughout the flour, which is crucial for consistent texture and rise. So, in goes the 2 1/3 cups of all-purpose flour, followed by the warm, aromatic spices: 2 teaspoons of ground ginger, 1 1/2 teaspoons of cinnamon, 1/2 teaspoon of nutmeg, and a delicate 1/4 teaspoon of ground cloves. These spices are the heart and soul of gingerbread, so don’t skimp on their quality! Next, I add the dry leavening agents – 1 1/2 teaspoons of baking soda, which will react with the molasses and create that characteristic chewiness and rise, and 1/4 teaspoon of salt to balance the sweetness and enhance the overall flavor profile. Give this a good whisk until everything is thoroughly incorporated.
Step 2: Creaming the Wet Ingredients
Now, let’s move on to the wet ingredients that will bring our gingerbread to life. In a separate, medium-sized bowl, I combine the melted butter and brown sugar. For this recipe, you’ll need 3/4 cup of unsalted butter, melted until smooth, and 1 cup of brown sugar. Whether you choose light or dark brown sugar is up to your preference; dark brown sugar will give a deeper, more intense molasses flavor. Stir these together until the sugar is mostly dissolved into the butter, creating a glossy, cohesive mixture. This step is important for building a rich flavor base.
Step 3: Incorporating the Liquids and Eggs
This is where the gingerbread truly starts to come together! To the butter and sugar mixture, I add 1 cup of molasses. Molasses is key to gingerbread’s distinctive flavor and dark color, so using a good quality one will make a difference. Then, I carefully pour in 1 cup of hot water. Don’t worry, this might seem unusual, but the hot water helps to dissolve the molasses and sugar further, creating a smooth batter and ensuring the gingerbread stays incredibly moist. Next, I crack in 2 large eggs, one at a time, whisking well after each addition to fully emulsify them into the wet ingredients. Finally, I stir in 2 teaspoons of vanilla extract for an extra layer of warmth and depth.
Step 4: Combining Wet and Dry and Resting the Dough
Now for the magic moment: bringing the dry and wet ingredients together. I gradually add the dry ingredients to the wet ingredients, mixing on low speed (if using a stand mixer) or with a sturdy spoon until just combined. Be careful not to overmix at this stage, as overmixing can lead to a tough gingerbread. Once the ingredients are just starting to come together, you’ll likely have a thick batter. This is exactly what we want. At this point, I usually cover the bowl with plastic wrap and let the dough rest in the refrigerator for at least 30 minutes, or even up to a few hours. This resting period allows the gluten to relax, making the dough easier to handle for rolling and shaping, and it also allows the flavors to meld beautifully.
Step 5: Baking Your Gingerbread Masterpiece
Preheat your oven to 350°F (175°C). If you are making cookies, line baking sheets with parchment paper. For a gingerbread cake or loaf, grease and flour your baking pan. For cookies, roll out the rested dough on a lightly floured surface to your desired thickness (about 1/4 inch is typical for cookies). Cut out your shapes using cookie cutters. Carefully transfer the cut-out cookies to the prepared baking sheets, leaving a little space between them. Bake for 8-12 minutes, or until the edges are firm and slightly golden. The baking time will vary depending on the size and thickness of your cookies. For a cake or loaf, baking time will be significantly longer, usually 30-45 minutes for a loaf and 45-60 minutes for a cake, or until a toothpick inserted into the center comes out clean. Let the gingerbread cool on the baking sheet for a few minutes before transferring it to a wire rack to cool completely.
Optional: A Simple Gingerbread Frosting
While delicious on its own, a simple frosting can elevate your gingerbread. For a basic glaze, cream together 1/3 cup of unsalted butter (softened) and 3/4 cup of brown sugar until smooth. You can then add a splash of milk or water to reach your desired consistency. This creates a lovely, caramel-like frosting that complements the gingerbread perfectly. Spread it over cooled gingerbread cakes or drizzle it over cookies once they are completely cool.
Enjoy the warm, spicy, and utterly comforting flavors of your homemade gingerbread!
Conclusion:
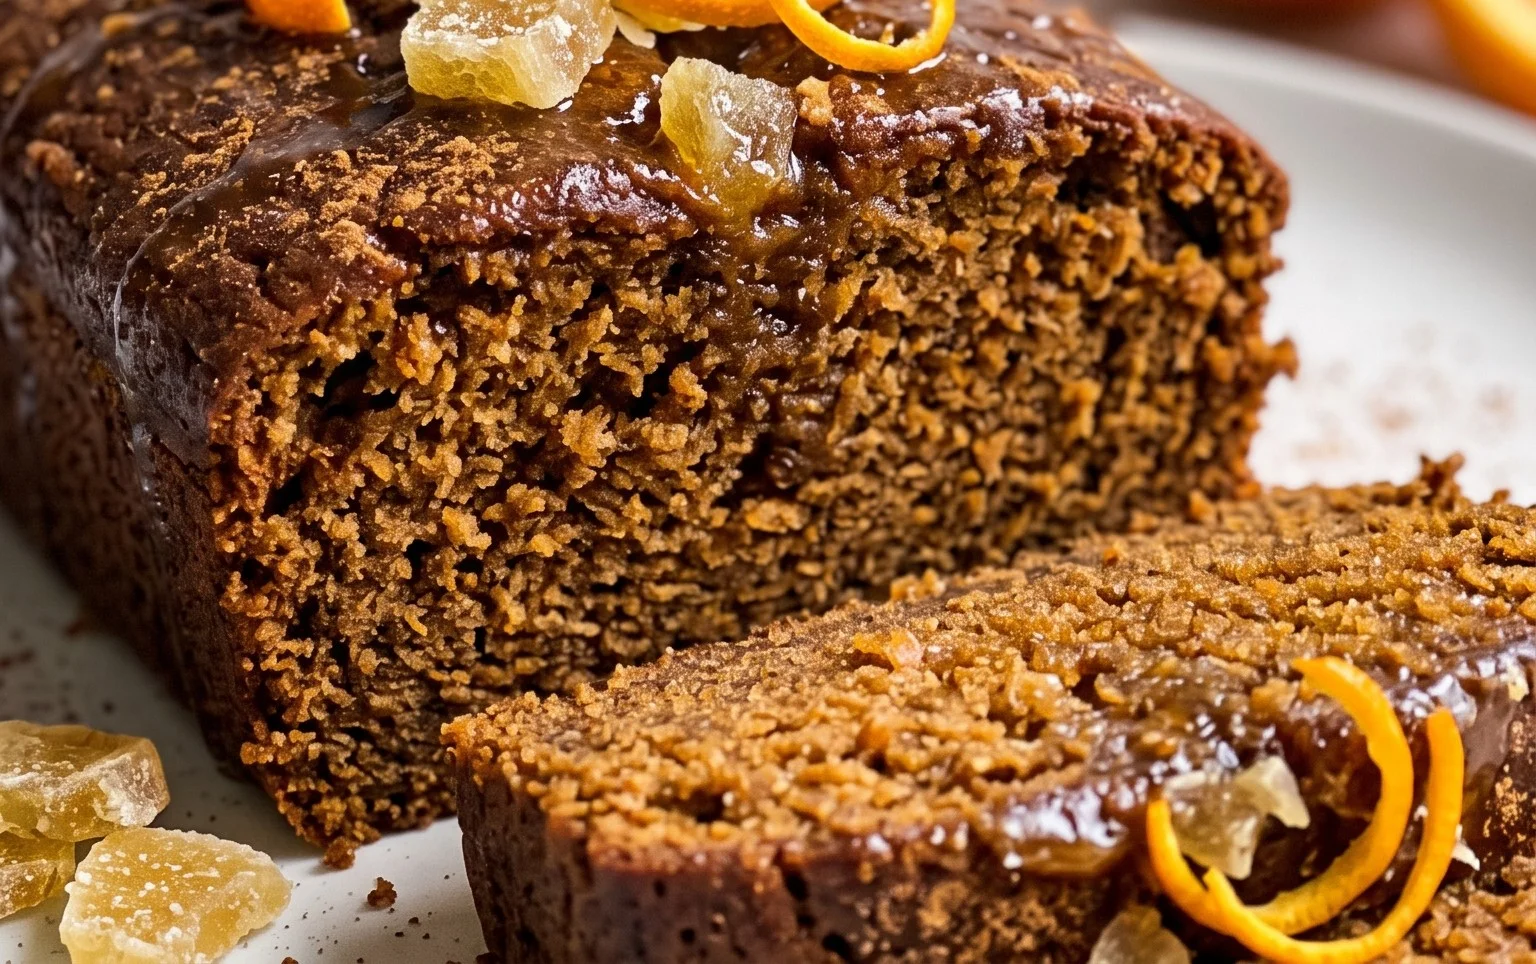
And there you have it – a delightful journey into the heartwarming world of homemade gingerbread! This recipe is truly a gem because it strikes the perfect balance between wonderfully spiced, chewy, and undeniably festive. It’s the kind of treat that fills your kitchen with an aroma so inviting, it practically beckons everyone to gather around. Whether you’re decorating intricately shaped cookies or baking a classic gingerbread loaf to share, the results are consistently delicious and deeply satisfying. I truly encourage you to give this gingerbread recipe a try; it’s simpler than you might think and the payoff is immense.
For serving, consider pairing your gingerbread with a steaming mug of hot chocolate or a warm glass of milk. It’s also a fantastic addition to a holiday dessert platter, or even just enjoyed on its own with a cup of tea. Looking for ways to make it your own? Feel free to experiment with different spices – a pinch of cardamom or a touch of black pepper can add an exciting twist. You could also fold in some chopped nuts or dried cranberries for added texture and flavor.
Frequently Asked Questions:
How do I store gingerbread cookies to keep them soft?
To keep your gingerbread cookies soft, store them in an airtight container at room temperature. Adding a slice of bread to the container can help maintain moisture. For cut-out cookies that you want to remain crisp, store them separately from softer baked goods.
Can I make gingerbread ahead of time?
Absolutely! Gingerbread, especially gingerbread cookies, often tastes even better after a day or two, allowing the flavors to meld. You can bake them a few days in advance and store them as mentioned above. Gingerbread loaf cakes can also be made ahead and are wonderful enjoyed at room temperature or lightly warmed.
Classic Gingerbread
A wonderfully spiced and moist gingerbread cake, perfect for any occasion.
Ingredients
-
2 1/3 cup all-purpose flour
-
2 teaspoons ground ginger
-
1 1/2 teaspoons cinnamon
-
1/2 teaspoon nutmeg
-
1/4 teaspoon ground cloves
-
1 1/2 teaspoons baking soda
-
1/4 teaspoon salt
-
3/4 cup unsalted butter (melted)
-
1 cup brown sugar (light or dark)
-
1 cup molasses
-
1 cup hot water
-
2 large eggs
-
2 teaspoons vanilla extract
Instructions
-
Step 1
Preheat oven to 350°F (175°C). Grease and flour a 9×13 inch baking pan. -
Step 2
In a large bowl, whisk together the flour, ginger, cinnamon, nutmeg, cloves, baking soda, and salt. -
Step 3
In a separate bowl, combine the melted butter and brown sugar until smooth. Stir in the molasses, hot water, eggs, and vanilla extract until well combined. -
Step 4
Pour the wet ingredients into the dry ingredients and mix until just combined. Do not overmix. -
Step 5
Pour the batter into the prepared baking pan and spread evenly. -
Step 6
Bake for 35-45 minutes, or until a wooden skewer inserted into the center comes out clean. -
Step 7
Let the gingerbread cool in the pan for 10 minutes before inverting onto a wire rack to cool completely.
Important Information
Nutrition Facts (Per Serving)
It is important to consider this information as approximate and not to use it as definitive health advice.
Allergy Information
Please check ingredients for potential allergens and consult a health professional if in doubt.